The following post is one that I tried to post last Friday. However, because of the Splitcoaststampers server migration last week, there were some blog issues and this post did not show up here on my blog. I apologize to anyone who is receiving this post for the second time through their email subscription to my blog. Hopefully the problems are fixed and all will work fine this time. 🙂
——————————
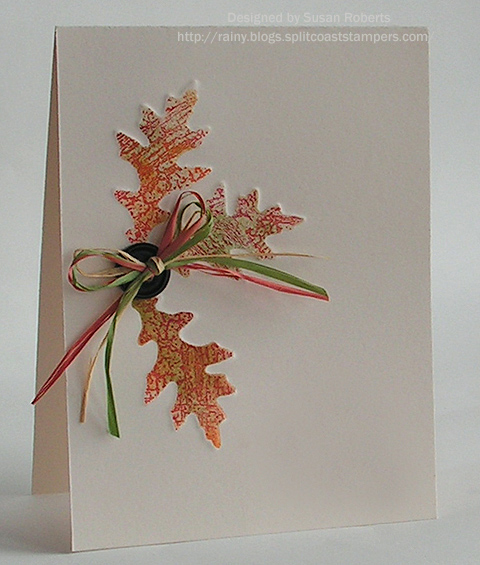
I’m still having fun playing with Essentials by Ellen: Craft-a-Board and dry embossing die cut images onto cardstock. On this card, I have used the Cuttlebug’s set of 4 die cuts called “Leaves”.
The first step was to die cut the leaves from the Craft-a-Board. Next the leaves are placed on the cardstock and run through the Cuttlebug.
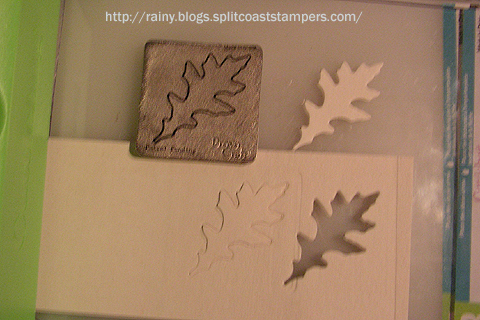
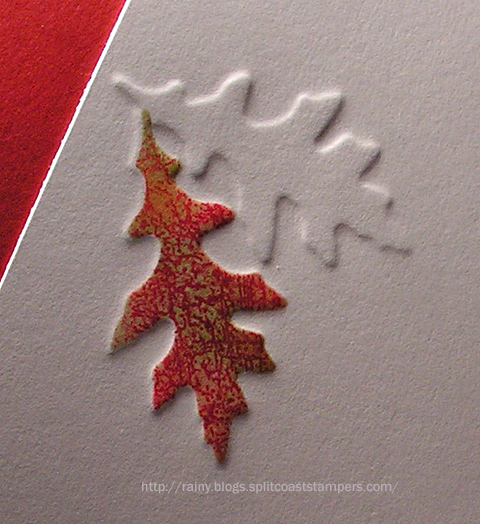
Then a (reverse) mask is cut and placed over one of the embossed leaves.

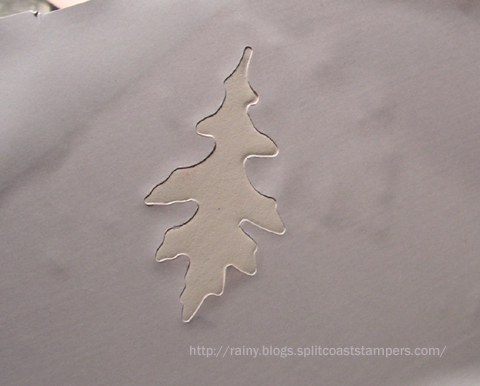
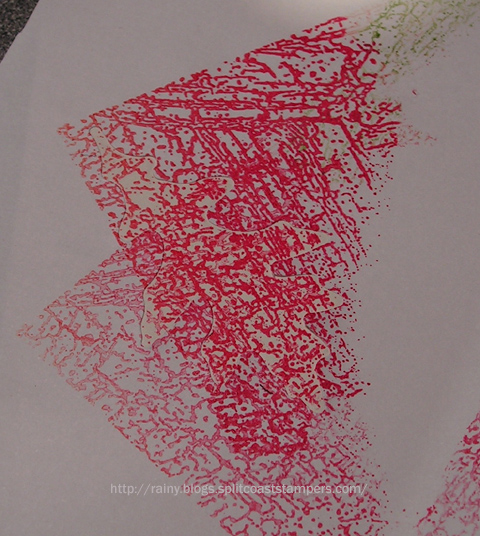
Taking my “Abstract Backgrounder” I then stamped the leaf in two or three different colors. Each leaf was stamped in this manner and then lightly sponged before removing the mask.
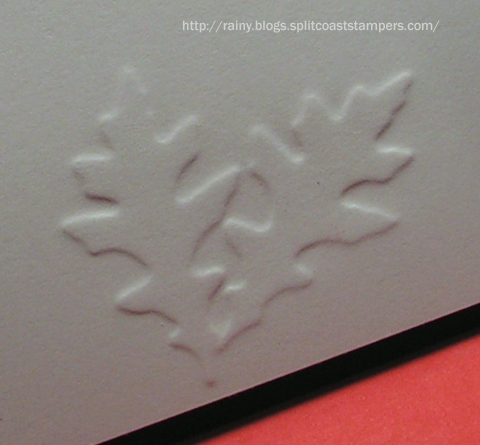
Here is a closeup of the 3 leaves on today’s card.
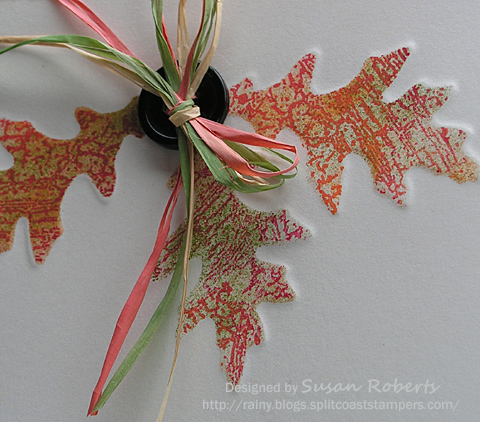
The leaves need to be embossed all at the same time. So with the 3 leaves above, I had 3 separate die cut leaves.
Continuing to play, I die cut several of the oak leaves and some of the maple leaves from the Cuttlebug “Leaves” set. I placed them all onto the cardstock and embossed it. Lastly I lightly sponged over the embossing. Here is the result!
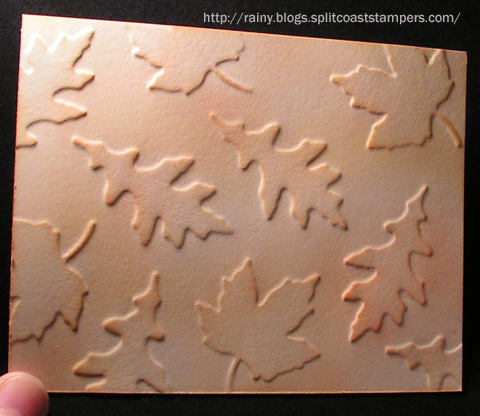
This can now be used as a background paper. Isn’t is wonderful. I so love the look of embossing!!
Happy Crafting!!
——————————
Stamps: CHF “Abstract Backgrounder”
Papers: PTI “Vintage Cream”
Inks: SU! Old Olive, Pumpkin Pie and Ruby Red
Accessories: Cuttlebug “Leaves” Die; Button; Raffia


I just love how you do these embossed shapes! Those leaves are fantastic and I love the background paper you created! You’re such an innovative thinker! TFS!
Wow this is such a pretty technique.. I love the colors.. Thanks so much for giving all these details.. One I will love to try.. Great job..
Very cool, Susan, I love the way the simplicity and originality. The raffia is a really nice touch.
Yippee! You got this fabulous project loaded! Awesome card, Susan. Thanks so much for sharing your fabulous tutorial.
Cuuuute!!! And so clever!
I had a lot of problems after the SCS thing too. Ended up having to reset the router.
Love it Susan, looks like a super fun technique!
Wow, Susan, I thought the leaves were cut out when I first saw the card. The embossing makes such an impressive technique. I love what you did with the stamping, too.
Susan, I am with Lisa. I thought those were cut out/layered leaves. Gorgeous card!
Hugs and smiles
Yea!!! I can finally post!! Susan, this is such an awesome technique. To be honest, when I first saw this, I too thought you had cut the leaves out. Way too cool my friend, way too cool.
You rock, Rainy! When I grow up, I want to stamp like you! Thanx for the inspiration!
Oh how COOOOL! Love the look of the embossed leaves and especially how you accented them with the different colored raffia. Beautifully done, girl!
Wow! This new technique is amazing! I really love how you combined it with masking and created the most stunning card! Really love a touch with the raffia! Thank you so much for sharing it, Susan!
This is SO SO cool! Beautiful work! 🙂
AMAZING!! You have taken this technique over the top! Love those stamped leaves…can’t wait to try it, and that fabulous embossed background is beautiful. Love this!
Yes I tried to comment but it didn’t work, love this effect so cool!
Whoa!!
The embossing … the simple, clean delight of this!
Please come visit & sit close for some lessons some day!
I love it!
~Bev
beautiful! It has been a long time since I tried embossing different things in the CB. (I even ran a Lego board thru once. lol) Did you use an embossing mat with it?
nevermind! I just read the next post.
Wow! What a great effect the dry embossing with stamping creates! I’m eager to try my hand. Thanks so much for the information and inspiration.
WOW! This is stunning!!!
This is such an unbelievebly FABULOUS technique, Susan!!!! I absolutely LOVE the look of the leaves…gotta try this for sure!!!!
Wow, Susan…love how you did those leaves! I love dry embossing! Great card! Thanks for sharing all the details!
This is super neat and something to give a try to. TFS your bit of info…love it. Pat