A couple of years ago I purchased some linen ribbon with the intent to use the cute Santas on the ribbon for Christmas cards. I finally got around to doing it!
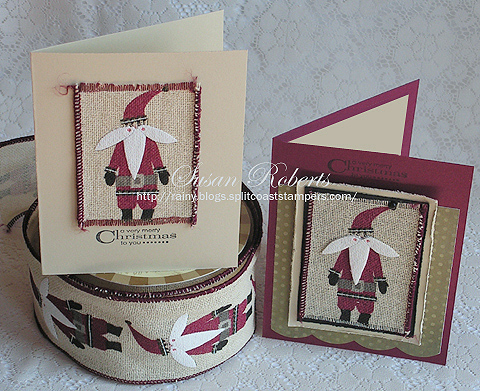
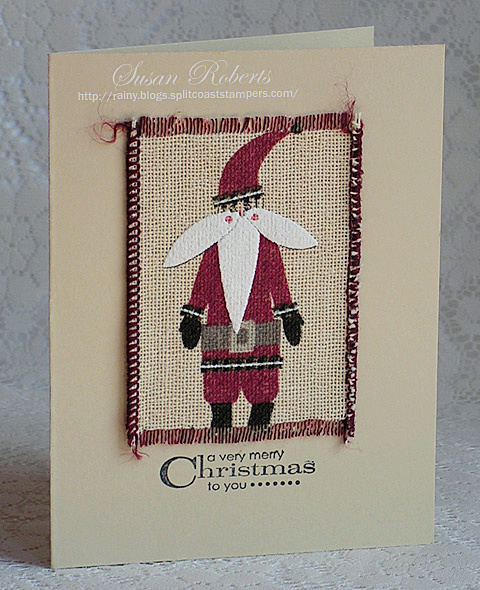
The first card is very CAS and took only a couple of minutes to make! Once cut, 2 or 3 threads were pulled off both top and bottom to create a fringe border. The fringe was then colored with a Copic ![]() marker to match the stitching on the edge. After taping the ribbon onto the cardstock, the wire which came as part of the ribbon was pulled out of the sides.
marker to match the stitching on the edge. After taping the ribbon onto the cardstock, the wire which came as part of the ribbon was pulled out of the sides.
The second card has a few layers of cardstock. Designer paper was also used along with a brad on the end of Santa’s hat. The fringe has not been colored on this card.
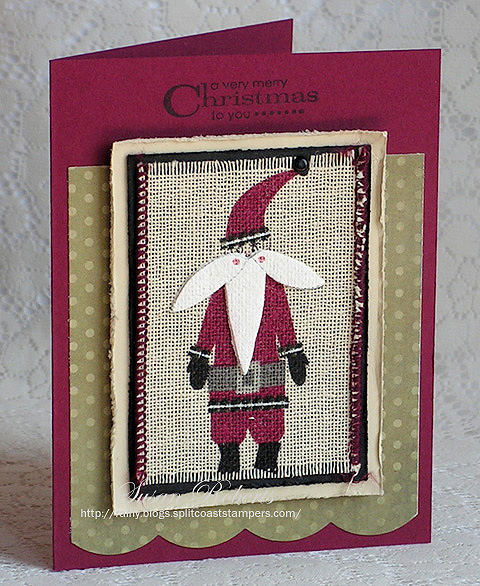
The wire was again removed after the ribbon was adhered to the cardstock. Santa’s beard was cut out from a second Santa and used to add a little more dimension and fun.

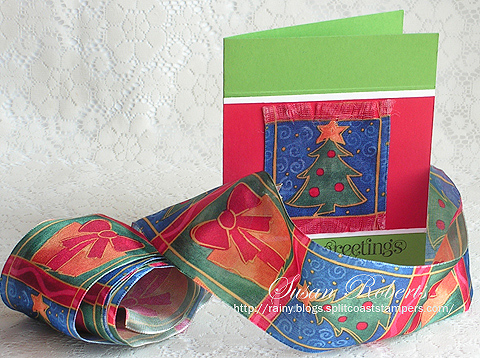
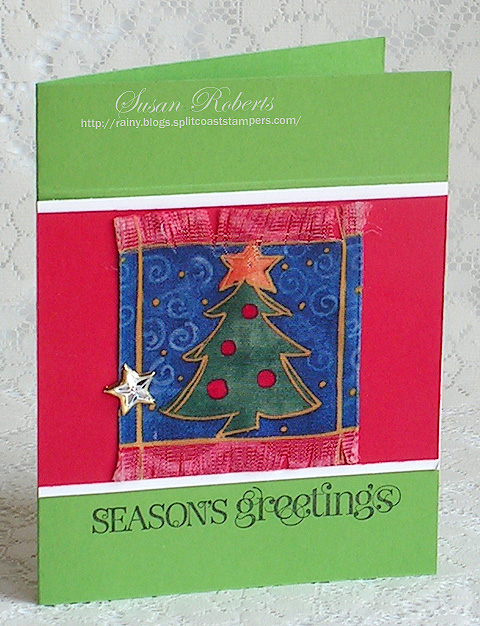
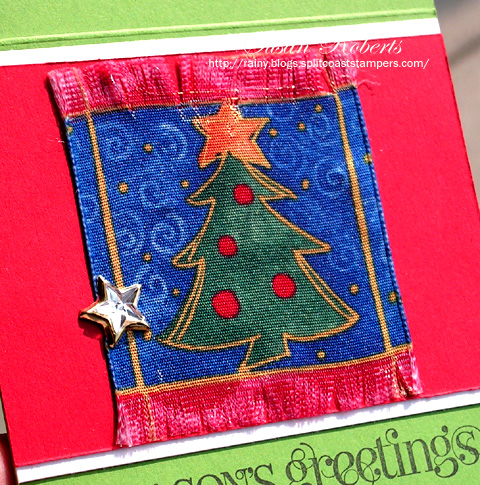
This last card was made using one of the images cut from a printed satin ribbon.
So fun, quick and easy!
Got ribbon?
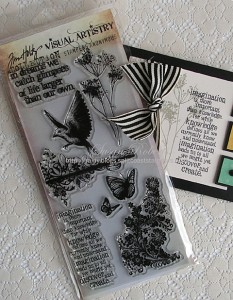
If you haven’t seen my Sketch Challenge for this month, check it out HERE. You have until November 1st to enter to win a beautiful Tim Holtz Stamper’s Anonymous stamp set called “Flights of Fancy.”
Happy Crafting!
——————————
Cards 1 and 2
Stamps: SU More Merry Messages
Papers: PTI Fine Linen, Scarlet Jewel and True Black; My Mind’s Eye “Lost & Found Christmas”
Inks: Memento Tuxedo Black; Copic ![]()
Accessories: Linen Ribbon; Brad; SU Large Scallop Edgelit
Card 3
Stamps: SU Curly Cute
Papers: PTI Select White, Pure Poppy and New Leaf
Inks: Memento Tuxedo Black
Accessories: Satin Ribbon; Star Brad; Martha Stewart Scoring Board


These are fabulous, Susan!! Just LOVE the Santa one!!!
Susan, thanks so much for sharing the directions on how you made these fabulous card. You should do a tutuorial for SCS! So creative and spectacular. Makes me want to run out and buy printed Christmas ribbon!
Wow, I love what you are doing. Following you now!! *.*
Now aren’t you just clever. I have several ribbons that I can do this too. Looks GREAT!
I love these cards – so clever with the ribbon and the look is marvelous! Thanks so much for sharing this technique!
These all look great, love the santa used on the first couple of cards and such a terrific idea of coloring the fringe really adds to it, this is great inspiration at just the right time 🙂 My sister gave me some ribbon with printed images on it and I was just wondering how I was going to use it
I never would have had the foresight to see a card being made from these great ribbons, but they’re fabulous!! Well done!
Wow!! How clever is that?! They’re so cute!!
Oh girl I LOVE your Santa!!~
LOVE, LOVE, LOVE the first cards! They look like old fashioned primitive cards to me and I love that style. Love the detail you gave them with coloring and stitching. Great cards! Happy Halloween! Best, Curt
Who would think that those are the ribbons! What a creative way to make these fun Christmas cards! Love your idea, Susan!