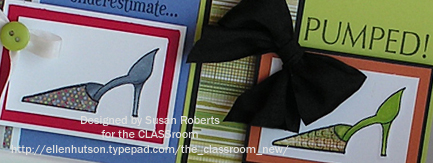
Got something to shoe you in the CLASSroom today. So come on over, and get “Pumped About Embossing”!
Got something to shoe you in the CLASSroom today. So come on over, and get “Pumped About Embossing”!
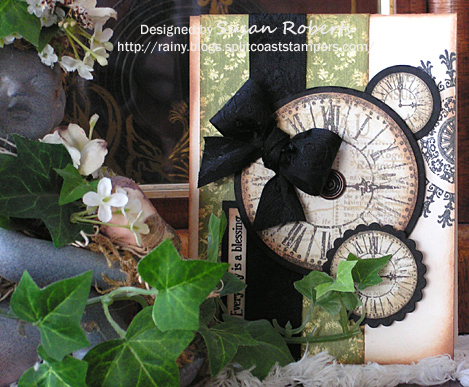
This week at Stampin’ Sisters in Christ their Challenge #27 is to: “Make a card or project using a time piece or in some way denoting time or the passage of time.” It sounded like such a wonderful challenge, so I decided to play along. Here is the card I made.
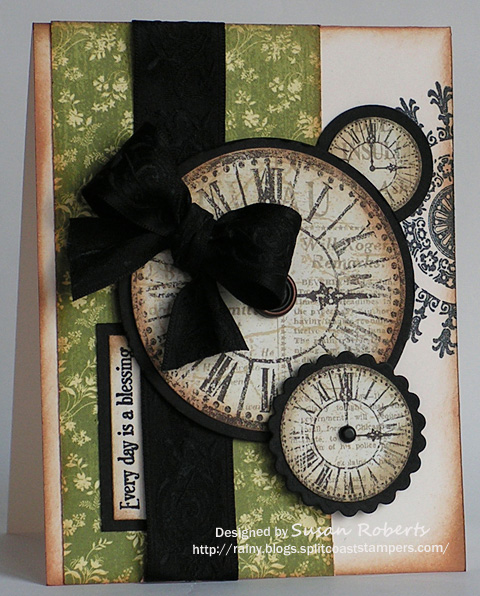
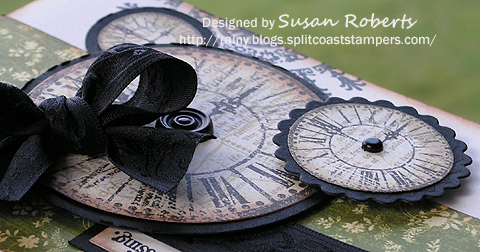
The stamp set used is called “Time to Stamp” from Cornish Heritage Farms. Graphic 45’s “Times Nouveau Collection” designer paper was also used for the time pieces (“Hip to the Jive”) and the green floral background (“Hey You!”).
There is still time to play. All entries need to be submitted by 11:59pm PST on Saturday, February 27th. The winner will get a $10 gift certificate from Designed 2 Delight.
Happy Crafting!
——————————
Stamps: Cornish Heritage Farms “Time to Stamp”
Papers: Papertrey Ink “Vintage Cream” and “True Black”; Graphic 45 Times Nouveau Collection “Hip to the Jive” and “Hey You!”
Inks: Memento “Tuxedo Black”; Ranger “Tea Dye” and “Old Paper”
Accessories: Circles Nestability Dies, Ribbon and Brads
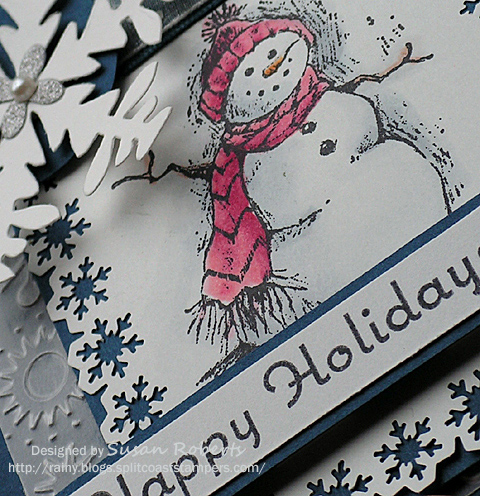
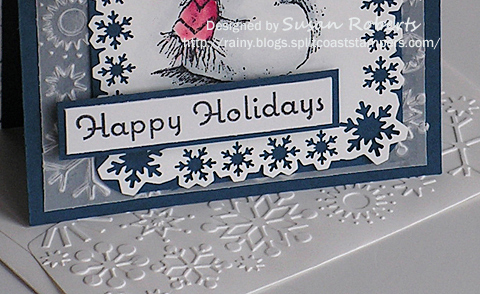
In celebration of the Winter Olympics (and because I used all of my Christmas cards this past year and will need to start NOW in order to have enough for this coming Christmas) I couldn’t resist making this snowy card.
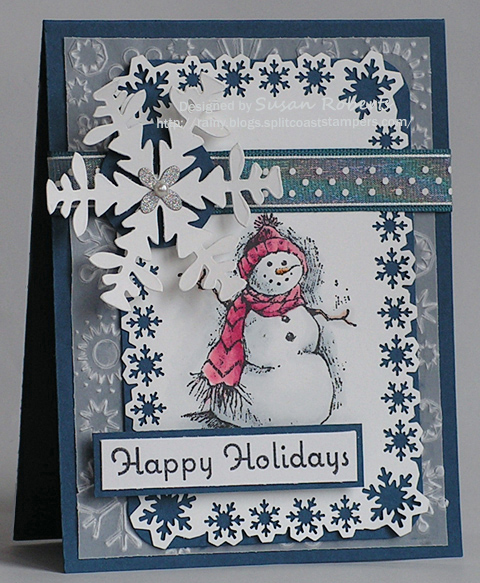
Besides a snowman image, I also used a couple of snowflake punches, a snowflake die cut and a snowflake embossing folder. Yeah.. someone got a little carried away, but it sure was fun! Copics were used for the little bit of coloring that was done.
And if all that wasn’t enough, I used the embossing folder to add some embossed snowflakes to the flap of the envelope. (Since the envelope flap has to be put sideways into the embossing folder, not all embossing folder designs work well for this.. such as those with words/script.)
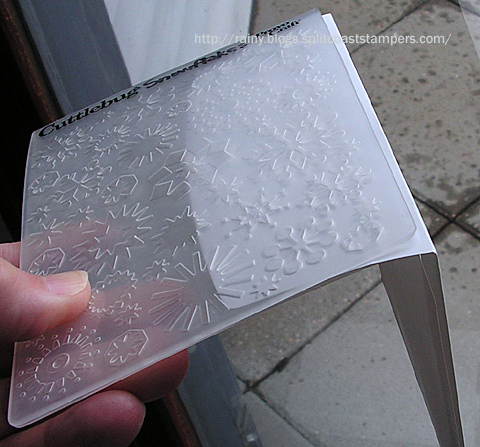
Different shapes of envelope flaps will work fine, too.
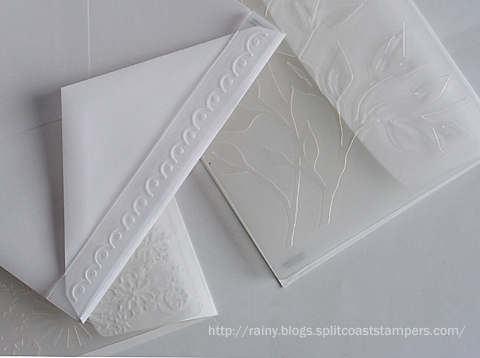
You can create either a positive or negative embossing. On the negative embossed envelope below, I ran a blue ink pad across the flap to create another look.
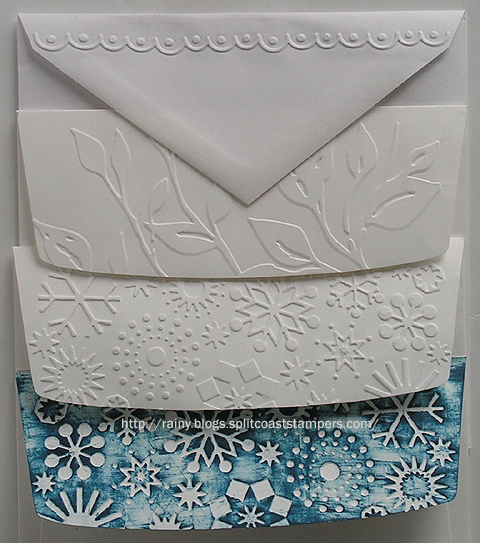
It’s such a quick and easy way to add a little something extra to your card giving. And your mail carrier can enjoy it, too!
Happy Crafting!
——————————
Stamps: Snowman is from Inkadinkadoo; Sentiment is from Flourishes “O Christmas Tree” set
Papers: Papertrey Ink “Enchanted Evening”, “Select White”; SU! “Whisper White”; Vellum
Inks: Memento “Tuxedo Black”; Copics:


Accessories: Martha Stewart Punch Around the Page, “Aspen”; Corner Rounder Punch; 1-1/4″ Circle Punch; Snowflake Die Cut; EK Success Gem Flower; Papertrey Ink “Enchanted Evening” GG Ribbon; Dotted Swiss Ribbon
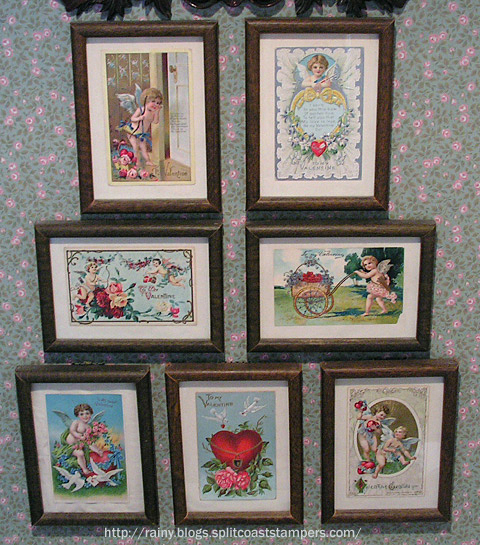
These are not prints of vintage Valentines. These ARE vintage Valentines.. the real deal! My mom loved and collected antiques. These Valentine postcards were just one of her many collections.
I have left them just the way she framed them. Perhaps after all these years, they may be in need of some fixing. Some of the paper backing is warping and the old frames are looking sorta sad. But I just can’t bring myself to do anything with them. I love them just the way they are. Come to think of it, I love my Valentine just the way he is, too. 🙂
Hope everyone has a sweet Valentine’s Day.

I love drawing sketches, and today I thought I would share one with you that I actually used to make a card.
So here is the sketch:
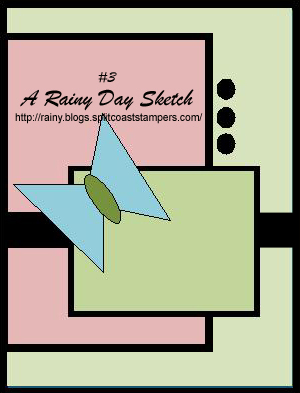
And here is the card I made using this sketch:
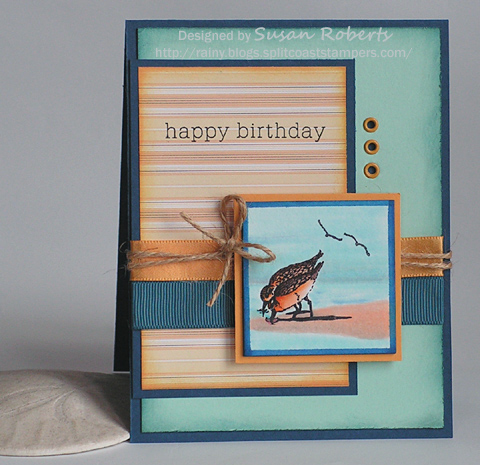
This “Shore Birds” image from Firecracker Designs by Pamela was given to me by Libby Hickson. Isn’t it wonderful! Thank you, Libby!!
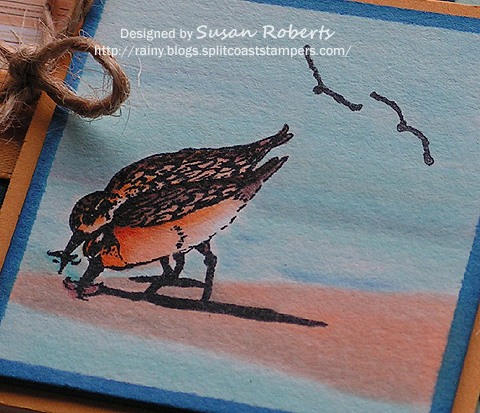
Using a Twinchie as the base for the main image and ocean scene, I first stamped the birds and colored them with Copics. Next Copics were used to color in the sand, ocean and sky. For the ocean, the B26 marker was touched directly onto the nib of the BG000 and BG02 markers before making the ocean strokes.
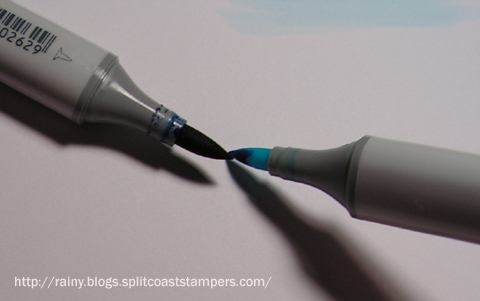
This automatically lightened and blended the B26 ink as it was drawn, but still allowed for a few accent areas on the water.
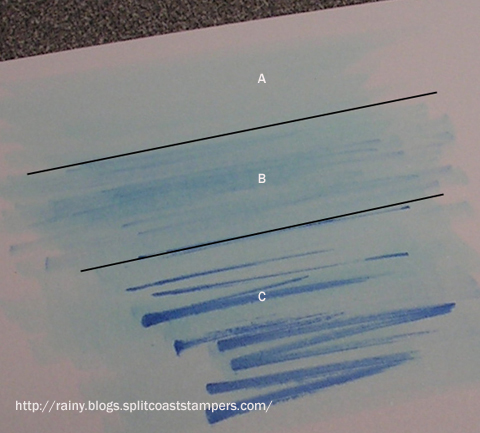
In the picture below “A” is the lighter marker only. “B” is the result when B26 is touched directly to the nib of the lighter marker. “C” is when both markers are colored independent of each other with no blending.
(I should mention here that this does not ruin your lighter marker in any way. Once the darker ink is used up, the nib on the lighter marker will once again be completely back to it’s original color as it soaks it’s ink up from the barrel of the marker. :))
Lastly I used a B26 Copic marker and a ruler to draw a frame around the outside of the scene on the Twinchie and also to color the sides of the Twinchie.
If you feel so inclined, I hope you’ll give this sketch a try, too! And please let me know.. I would LOVE to see your take on it!
Happy Crafting!
——————————
Stamps: Firecracker Designs by Pamela “Shore Birds”; Kittie Kits “Cause a Scene #2”; Papertrey Ink “Birthday Basics”
Papers: “Twinchie”; Papertrey Ink Summer Sunrise, Aqua Mist, Enchanted Evening and “Father Knows Best” 6″ x 6″ DP
Inks: Memento “Tuxedo Black”; Papertrey Ink “Summer Sunrise”; SU! “Not Quite Navy”; Copics:


Accessories: Papertrey Ink 5/8″ GG Ribbon “Enchanted Evening” and 1/2″ Satin Ribbon “Summer Sunrise”; Eyelets; Twine
Let the Good Times Roll! LOVE that I’ve gotten to play in TWO Splitcoaststamper challenges this week! This card is for their Inspiration Challenge #218 found here. I used the first sample picture as my inspiration.
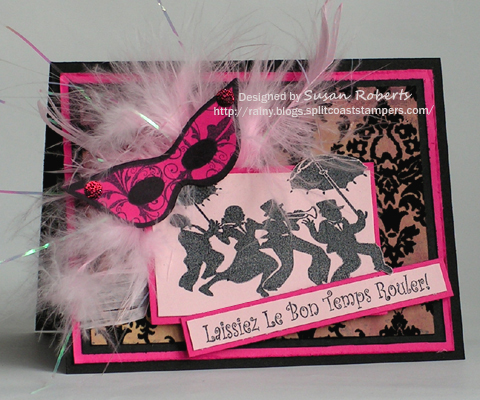
Mardi Gras is this month, and these fun images and sentiment are from Flourishes “Mardi Gras” set.
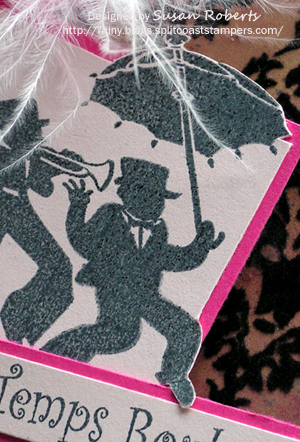
Portions of the parade leader’s leg and umbrella have been cut out. I think it makes him look like he’s walking right out and off of the card!
Now I’ve never been to Mardi Gras, but I do know that pink is not one of the traditional colors for it. But it’s one of my favorites, so there you go! I have heard that anything goes… so surely some pink would be allowed! hehe I think just crafting about it is more my speed!
Good Times! Happy Crafting! GO COLTS!!
——————————
Stamps: Flourishes “Mardi Gras”
Papers: Papertrey Ink True Black, Sweet Blush and Raspberry Fizz; DP is 7 Gypsies “Flocked TOBAL”
Inks: Memento “Tuxedo Black”
Accessories: Feathers; Glitter Brads
This is what happens to the next card I create after making a “clean and simple” one…
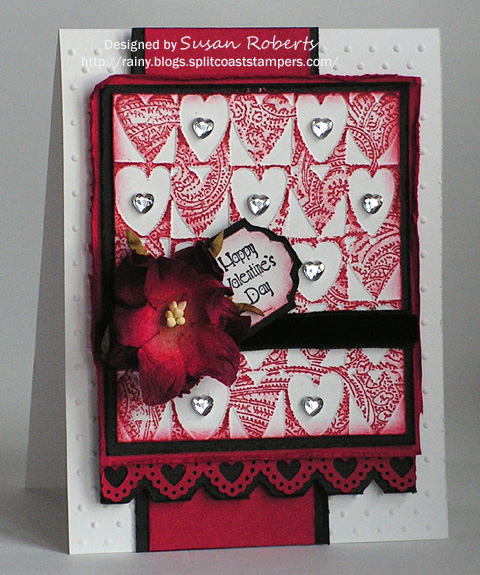
Embossing, Sponging, Distressing, Flower, Velvet, Paper Punches, Lots o’Layers and BLING!!
..**Phew**.. I feel better now! 
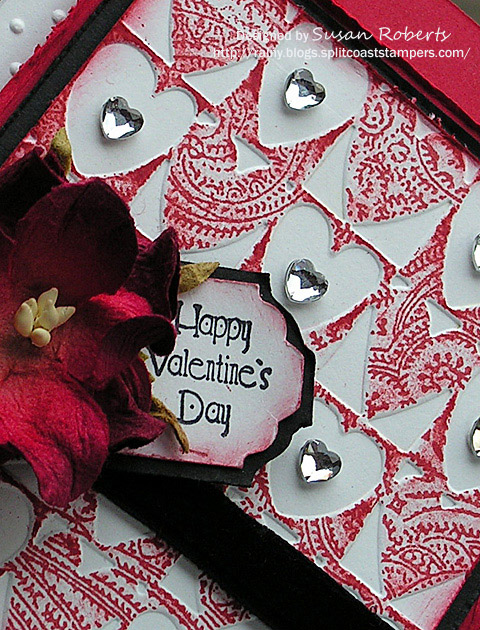
I love the effect of stamping on embossed areas like the hearts on this card. I used the Paisley Backgrounder for it here.
This is another card off to Pat Adam for her Valentines drive for the kids at Children’s Hospital of Michigan. She needs them all by February 8th. If you are interested in helping, check out her blog for more details.
Happy Crafting!
——————————
Stamps: Cornish Heritage Farms “Paisley Backgrounder”; Sentiment is from Michael’s Dollar Bin
Papers: Papertrey Ink Select White, Pure Poppy and True Black
Inks: Memento “Tuxedo Black”; SU “Ruby Red”
Accessories: Cuttlebug Embossing Folders “Heart Blocks” and “Swiss Dots”; Martha Stewart “Lace Heart” Edger Punch; Marvy Tag Punch; Petaloo “Mulberry Street” Red Flower; Rhinestone Hearts; Velvet Ribbon
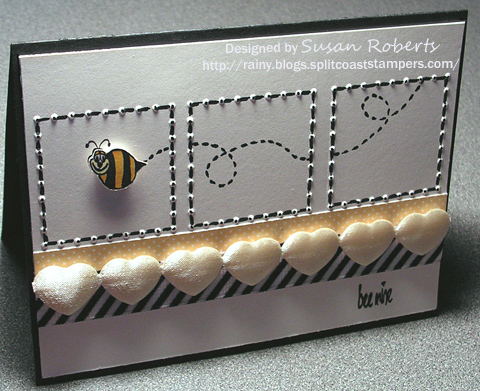
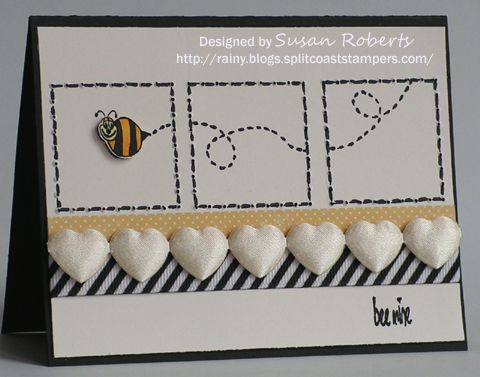
This card was made for the Splitcoaststampers’ Clean and Simple #52 Challenge. Ugh.. clean and simple is SO HARD for me! This was about as good as I could get it. The urge to add embellishments or other elements to this card was overwhelming! lol
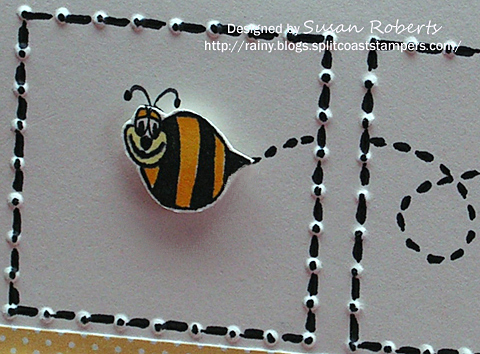
The embossed squares were made with Cuttlebug’s Decorative Squares #3 Embossing Folder, and a marker was used to draw lines and dots on and between the embossing. The bee’s trail was also hand drawn.
Pat Adam is once again collecting Valentines for the children at Children’s Hospital. I’m trying to make a few to send to her asap as she needs them by February 8th. If you are interested in helping, check out her blog for more details.
Happy Groundhog’s Day!

——————————
Stamps: Michael’s Dollar Bin
Papers: PTI “Vintage Cream” and “True Black”; Making Memories DP “English Garden” Pack
Inks: Black Marker; Copics 

Accessories: Cuttlebug Decorative Squares #3 Embossing Folder; Michael’s Striped GG Ribbon; Satin Hearts Ribbon


