This month Operation Write Home has been celebrating it’s birthday.  I was inspired to begin going through some of the boxes of cards I have to see which ones might be appropriate to mail to them.
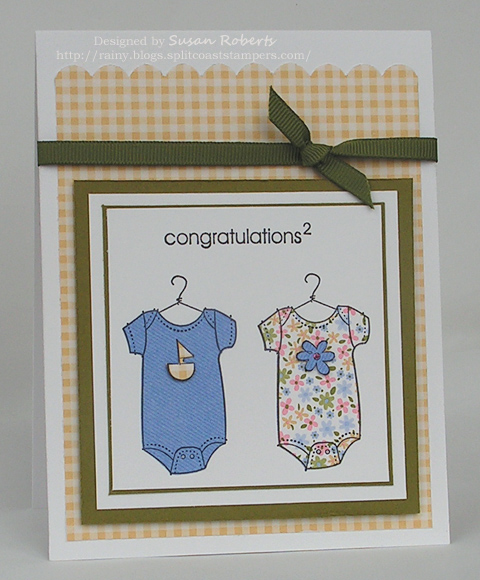
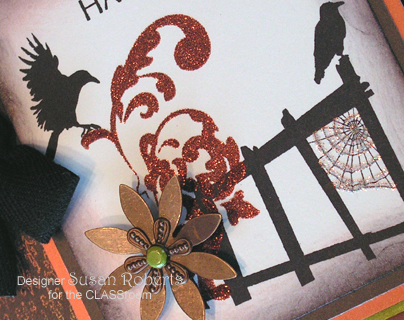
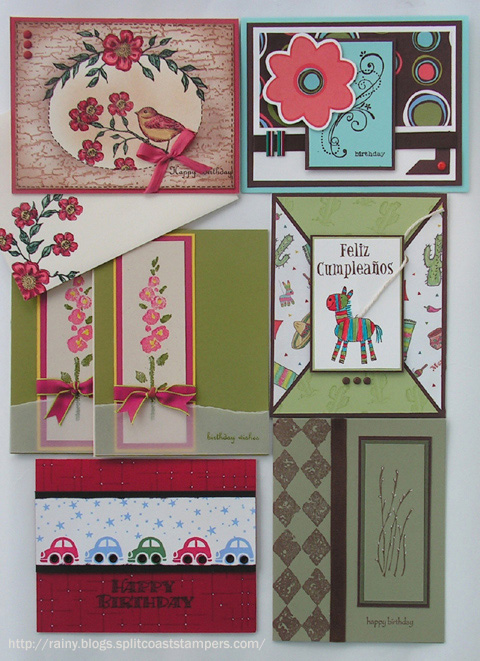
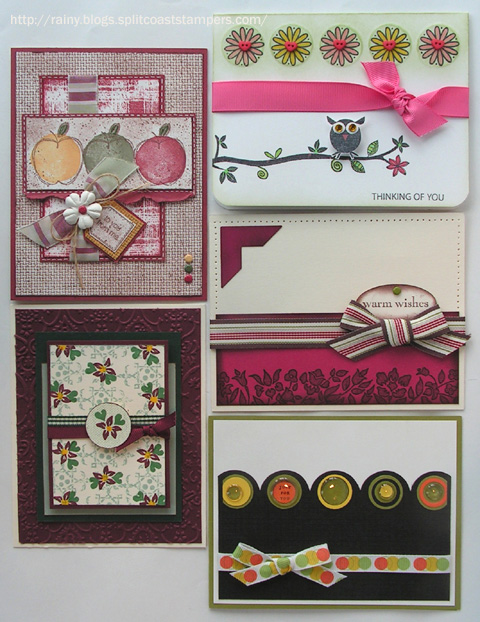
This was a start:

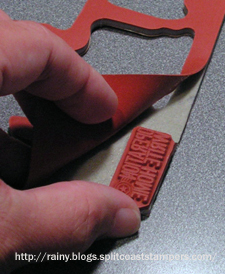
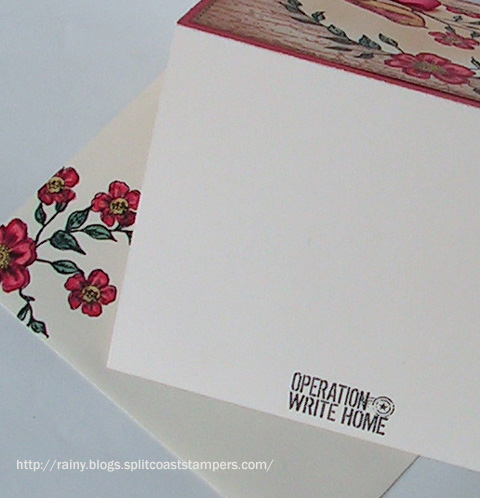
Before each card is sent overseas, OWH stamps their name on the back.  I requested that they send me this stamp so that I could do this step for them.

Since it was only the rubber (with no foam backing), I used some foam backing leftover from an SU! set.  It’s rubber easily peeled away from the foam leaving most of the stickiness intact on the foam.

The rubber was placed on the foam and then cut out.

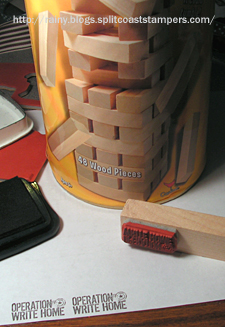
The stamp was then mounted on a Jenga block.  A whole Jenga game can be purchased for just a few dollars, and these blocks work perfectly as wood mounts!

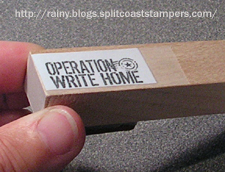
Once it was mounted the image was stamped onto some printer paper which was cutout and taped to the wood block.

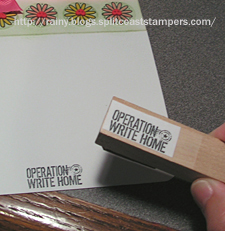
Now I can make sure that all my cards are stamped with the “Operation Write Home” name before they are mailed and save the mailroom at OWH a time consuming step.

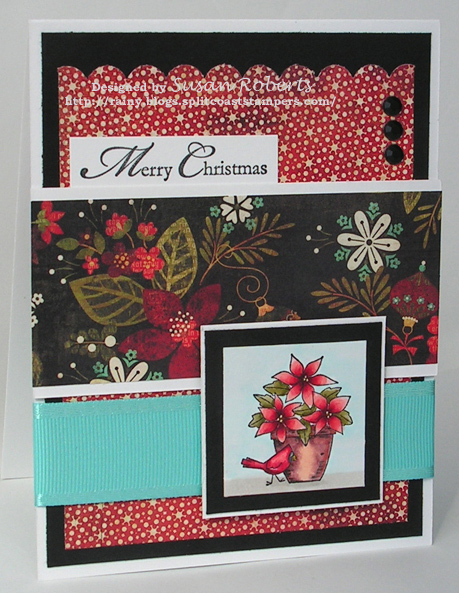
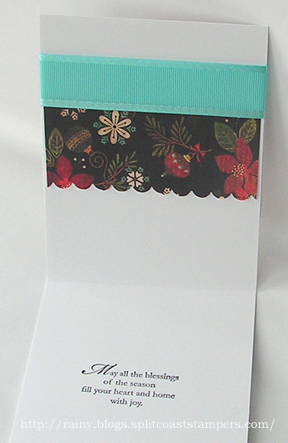
Since the soldiers do not have white ink pens to write on the darker cardstocks, another thing you can do to help OWH is to make sure that all the insides of your cards have a white or light writing area.

Maybe you have some cards just laying around?  Why not send them in to Operation Write Home!

Happy Crafting!

One of my sons just turned 29.  It was his first time to arrive at this age.  I suspect he may have a few more as I know I certainly did.  heheh

Since he has been helping me with some house plans that we are having done, the image used and patterned paper from Basic Grey’s “Basics White” Designer Paper Collection with their architectural/mathematical feel seemed like a good choice.

When I think of this type of architecture a colorless concrete material comes to mind.  But, I had to have some color!

The arch was stamped twice with a water based ink.  One of the images was colored with Copics over the water base ink which then ran into the Copic ink.  (I was actually trying for this effect.  lol)  The image was then cutout and mounted over the other to give it some dimension.  This was then mounted on a Twinchie whose edges and borders had been colored with the water based ink as well.

When I was young I had ‘designs’ of becoming an architect but decided to be a stay-at-home mom instead.  I feel very blessed to have been in a position to be able to make such a choice.   Four grown boys later there are no regrets.

Hope you had a great birthday, Jeff!

——————————

Stamps: Stampers Anonymous “Creative Block #12”; SU “Older and Wiser”

Papers: Papertrey Ink “Select White”(inside) and “Vintage Cream; SU “Night of Navy”; Basic Grey “Basics White” Designer Paper; Pink Paisley “360° Degrees” Designer Paper

Inks: Memento “Tuxedo Black”; SU “Night of Navy”; White Gel Pen; Copics:

Accessories: Inchie Arts “Twinchie”; Papertrey Ink “Enchanted Evening” Twill Ribbon; SU “Kraft” Taffeta Ribbon, “Real Red” Brad and Paper Piercer and Template

blog274sketch.jpg

I love drawing sketches, however, a little confession… I have a really hard time following them exactly.  Here is the card I made with this sketch.

blog274cardwithwm.jpg

Looks like the sketch was followed pretty closely, no?  Well, I changed the sketch to follow the card.  ha!  I tried to follow a similar sketch that I had made.  It was the intent to follow it, but an extra little piece snuck in somehow so…  I changed the sketch!  heheh  Is it possible to cheat if its your own sketch?  lol

blog274closeupwithwm.jpg

The images in this SU! set “A Flower for All Seasons” are all so sweet and fun to color.  The centers of each Poinsettia were dotted with a white gel pen to match the flowers on this new “Jovial” Christmas paper from Basic Grey.  And the horizontal lines were drawn on the flower pot to add shading.

Carrying the ribbon all the way around the card base panel and adding a touch of the patterned paper on the inside really helped to dress up the card.  (And speaking of ribbon… this new May Arts 1″ Grosgrain with a Satin Edge is FABULOUS!!)

blog274insidewithwm.jpg

Another Christmas card completed to add to the pile (which needs to be much much larger if there are to be enough cards to send out this year).  Workin’ on it!

Thanks for dropping by today.  If you decide to try the sketch, I would love for you to leave a link here so that I can take a peek.  It’s always so fun to see what someone else does with them.

Happy Crafting!

Hi, Jill.  Do the Puyallup! clipcowani.gif

——————————

Stamps: SU! “A Flower for All Seasons” and “A Cardinal Christmas” (sentiment)

Papers: Papertrey Ink “Select White” and “True Black”; Basic Grey “Jovial” DP

Inks: Memento “Tuxedo Black”; White Gel Pen; Copics:

Poinsettia and Bird: r20.jpgr24.jpgr29.jpgr89.jpgy19.jpg

Leaves: yg911.jpgyg95.jpgyg99.jpg

Flower Pot: e0000.jpge00.jpge04.jpge08.jpgw9.jpg

Sky/Ground: bg000.jpgw1.jpgw3.jpg

Accessories: May Arts 1″ GG Ribbon with Satin Edge; Kaiser Rhinestones; SU! Scalloped Border Punch

About my friend, Nan…  I’ve spoken of this incredibly talented lady before.  (A link to her blog “Pots and Pins” is on my sidebar, too.)  She has written books (and had them published!).  She is a celebrated chef (and has been on TV “Emeril Live”!).  And she quilts.. the most beautiful quilts.

1blog272nansquiltwithherwm.jpg

Well not long ago, I became the recipient of one of Nan’s quilts.  Really!?!  Pinch me!!  How do you thank someone for such a gift.. one that has taken so much of their time and talent to create?

Well, of course, to begin with one must make such a gift giver a card.  (Bet you didn’t see that one coming.  hehe)  SU!’s “Quilt Quips” was the perfect stamp set for it.

blog272cardwithwm.jpg

I kept trying to make Nan a pink rosey sort of card to compliment the quilt.  But it wasn’t working.   Then Pink Paislee’s “Queen Bee” designer paper jumped out at me.  Was it the name or just the beautiful patterns and colors.  Either way, I think they were both perfect for Nan.  She is the Queen Bee when it comes to quilts!

I used an Inchie for the quilt block image.  Love those Inchies.  They give such a sturdy element to pop up and add dimension and interest to a card.

blog272closeupwithwm.jpg

The inside of the card and the envelope got a little love as well.

blog272insidewithwm.jpg

Thank you again and again, Nan.  This beautiful creation warms my body and my soul.

blog272quiltwithwmsizedjpg.jpg

Happy Crafting!

——————————

Stamps: SU! “Quilt Quips”

Papers: SU! Chocolate Chip Cardstock; Pink Paislee “Queen Bee” DP

Inks: Memento “Rich Cocoa”; SU! Chocolate Chip Marker; White Gel Pen; Copics:

yg91.jpgyg93.jpgyg97.jpgt3.jpgt9.jpg

Accessories: Inchie Arts Inchie; Prima Marketing Lace

blog270ladybugwithwm.jpg

My twin granddaughters just celebrated their sixth birthday.  How can that be?!?  They were just born yesterday!  They were so premature and so tiny.  Here they are finally home from the hospital.  They remained on oxygen for another month or so.  And now they are six and still the sweetest little girls.

1montholdlivvykaylawithgrandma.jpg

I made these cards and enclosed them with their gifts.

blog270cardswithwm.jpg

I tucked six $1 bills under the inside ribbon for a little extra surprise.

blog270insidewithwm.jpg

They have completely stolen my heart.

alivia-and-kaylaage3-07.JPG

Hope their dad remembers to send me some pictures of their birthday celebration.  In the meantime…

Happy Crafting!

——————————

Stamps: SU! “Bugs & Kisses”

Papers: PTI Select White; SU! Real Red; DCWV “The Glitter Mat Stack”

Inks: SU! Basic Black and Real Red Markers; Memento “Tuxedo Black”

Accessories: Inchie Arts Inchie Square; SU! 1″ Double Stitched GG Ribbon and Eyelet Border Punch; McGill 1-9/16″ Square Punch

Sep 052010

This week’s challenge over at Our Creative Corner is to feature letters and/or numbers in your card or project.

blog273occcardwithwm.jpg

Well our neighbors just recently became parents for the first time, and they had twins… a darling little boy that looks like and has the easy going personality of his dad and a spunky little girl that looks like and has the personality of her mom.  How fun is that!

smileybabyboyani.gifsmileybabygirlani.gif

So the numbers challenge was right in line with what’s been on my mind.  This card uses a sweet retired set from SU! that was made for just such an occasion.  The entire panel with the onesies is raised up on dimensionals.  The little cutout flower and boat are both slightly raised with a glue dot.

blog273occcloseupwithwm.jpg

If you want to play along in the OCC’s challenge, you can find it here.  Happy crafting!

——————————

Stamps: SU! “By Ones & By Twos” (retired)

Papers: Papertrey Ink Select White and Ripe Avacado; SU! “Pawsitively Prints” DSP

Inks: Memento “Tuxedo Black”

Accessories: GG Ribbon; Stickles; SU! Scallop Edge Border Punch

I’ve been playing with Design Adhesives from Memory Box and Glitter Ritz Microfine Glitter in the CLASSroom.  Oh it sparkles!

blog271classroom28withwm.jpg

Sure hope you’ll come on over and see the fun things you can do with some of the great new products Ellen has to offer in her store.

Happy Crafting!

On a personal note:  This is my last CLASSroom post.  It has been such a wonderful experience getting to know Ellen and being able to visit her studio from time to time.  Sure hope she doesn’t mind if I continue to drop in to say, “Hi!” and fetch a hug or two.  Thank you, Ellen!

© COPYRIGHT © and FTC Declaration

All content on my blog is COPYRIGHT © 2008-2024 Susan Roberts. Please don't copy any of my stuff for publication, design or contest submission. I declare that I sometimes promote and/or endorse products that I currently receive or have received either for free or at a discount. That said, I won't ever recommend anything that I don't personally enjoy using or feel is a quality product.
© 2020 Rainy Day Creations Suffusion theme by Sayontan Sinha