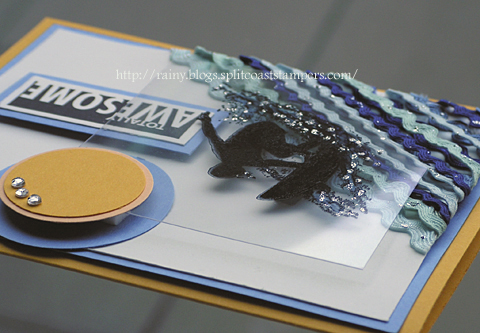
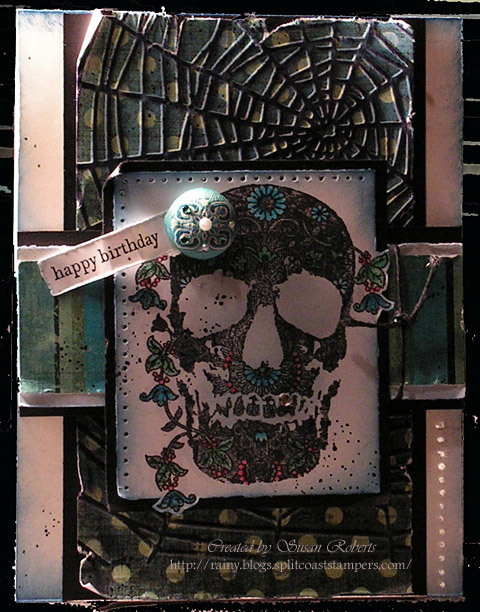
How do you know when you’ve been away from your stamping table for too long? When a spider has moved in and calls it home!
Today my new SU! stamps arrived. So of course I hurried up to my stamp room with the box containing my newly delivered toys. I sat down at my table and there he was a happy little spider in the middle of his web which was built in and around the shelves and markers. I wonder how long he has been calling this home. Well to make a long story short, he is now out in the garden hopefully much happier than he would have ever been playing with my Copics! lol
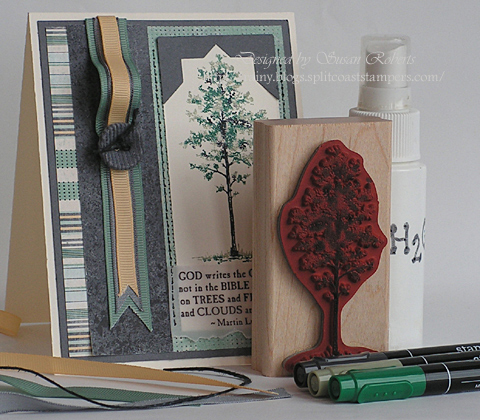
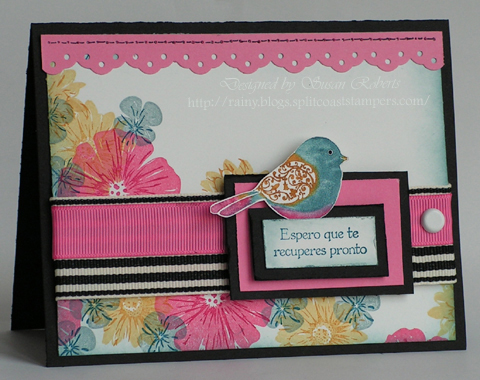
So I got my sets mounted and decided to play along with the Sketch Challenge over at Splitcoaststampers today.
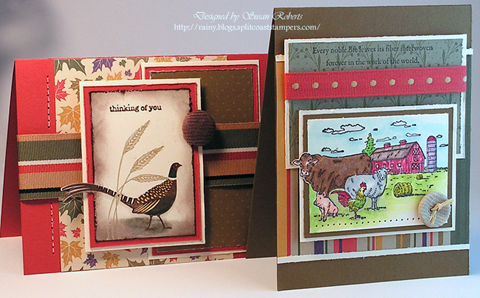
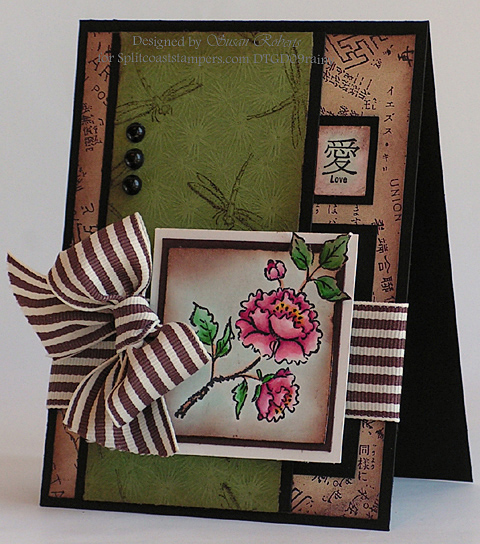
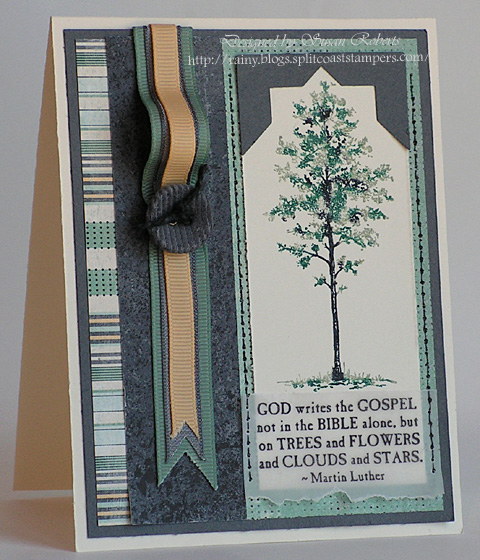
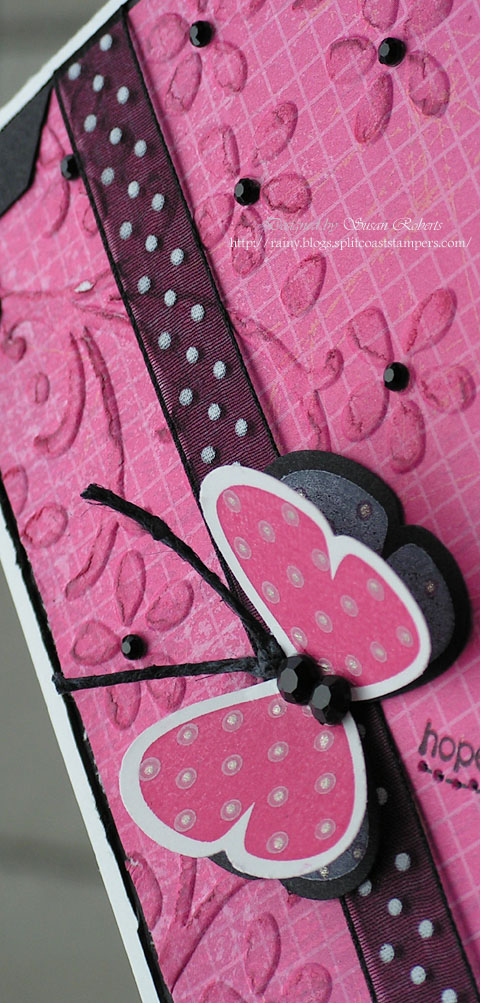
What a wonderful sketch! It was perfect for using some of the new designer series paper (dsp), too. (The first card has the sketch turned 90 degrees.)
Have you ever played along in any of the challenges at Splitcoaststampers? If not, give it a try! But a warning: It’s addictive!!
——————————
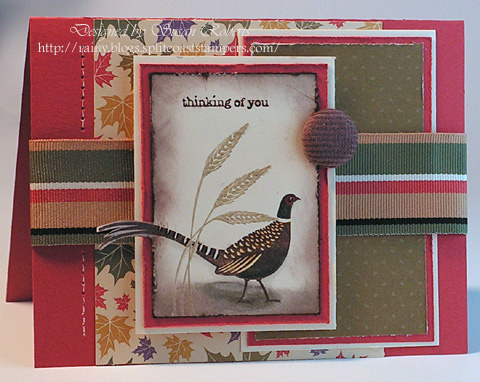
The wheat was stamped with Creamy Caramel, VersaMark and then clear embossed. The pheasant was stamped with Chocolate Chip Classic ink and then colored with Copics to give some subtle color.
(All products are Stampin’ Up! unless otherwise noted.)
Stamps: “Autumn Days” and “Teeny Tiny Wishes”
Papers: Ruby Red, Very Vanilla, “Autumn Traditions” dsp
Inks: Chocolate Chip, Creamy Caramel, VersaMark, White Gel Pen; Copic Markers: 0, 100, G28, R29, T5, YR04
Accessories: Chocolate Chip Corduroy Button, Ribbon Originals “Rustic Retreat”, Piercing Tool and Template, Clear Embossing Powder
(All products are Stampin’ Up! unless otherwise noted.)
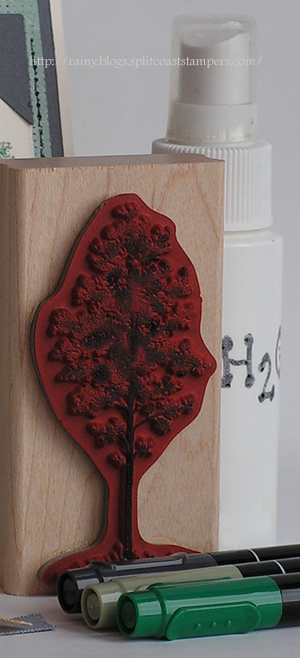
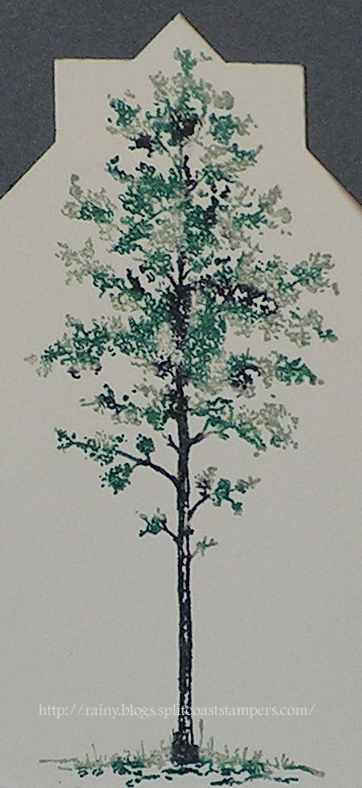
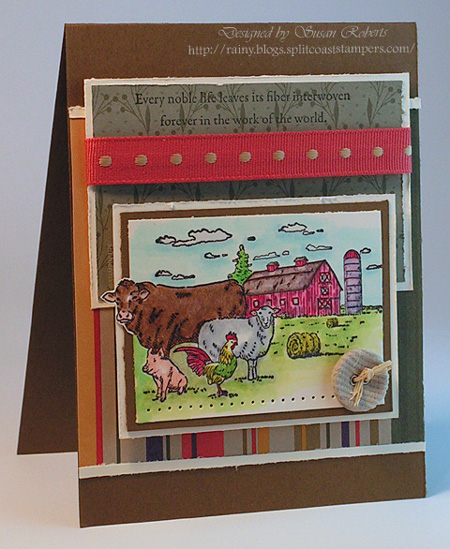
Stamps: “Farm Life”
Papers: Soft Suede, Very Vanilla, “Autumn Traditions” dsp
Inks: Memento “Tuxedo Black”; Creamy Caramel Marker; Copic Markers
Accessories: Kraft Corduroy Button, Ribbon Originals “Rustic Retreat”, Piercing Tool and Template; Raffia from Madagascar