casahogarapril102.jpg

As in the past, our family spent Spring Break in Puerto Vallarta, Mexico.  And as we have done before, we visited the Casa Hogar orphanage.

casahogarapril105.jpg

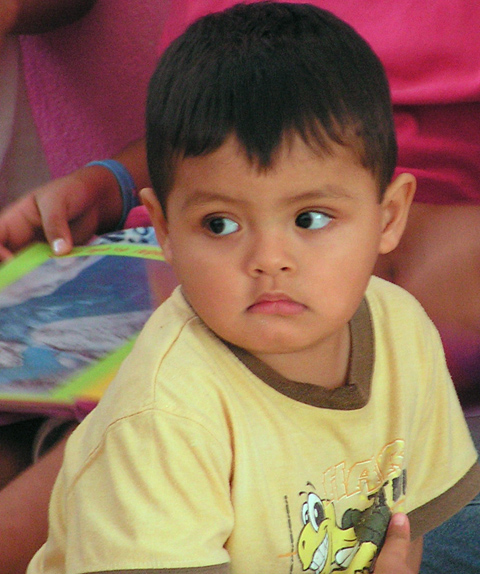
Unlike the United States, Mexico does not have a foster child program.  So although there are true orphans at Casa Hogar, any child that has been abandoned or abused…

casahogarapril108.jpg

casahogarapril106.jpg

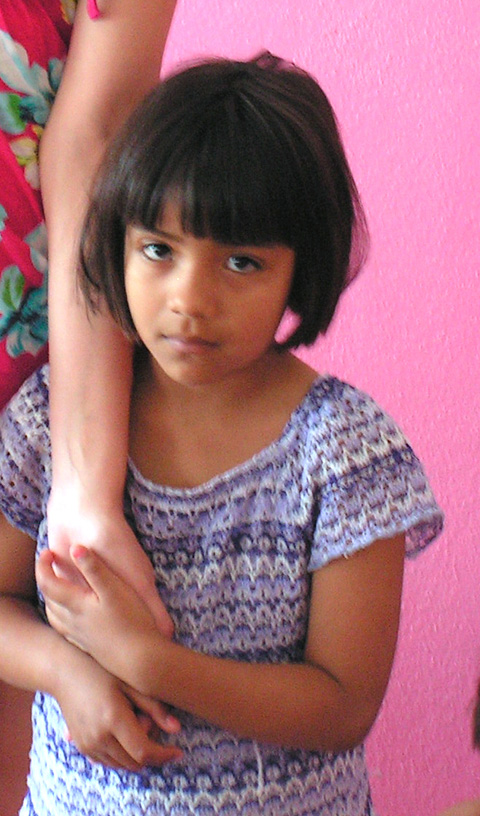
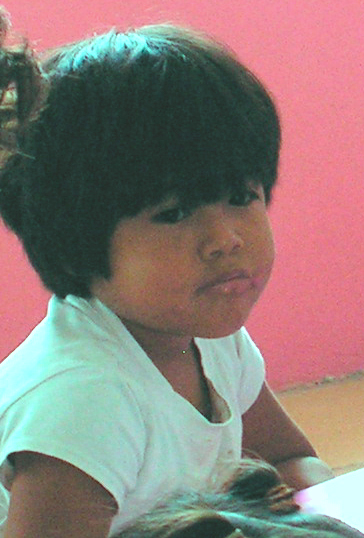
or whose parents are imprisoned is also sheltered there until such time that the parents are able or allowed to care for them again.

casahogarapril101.jpg

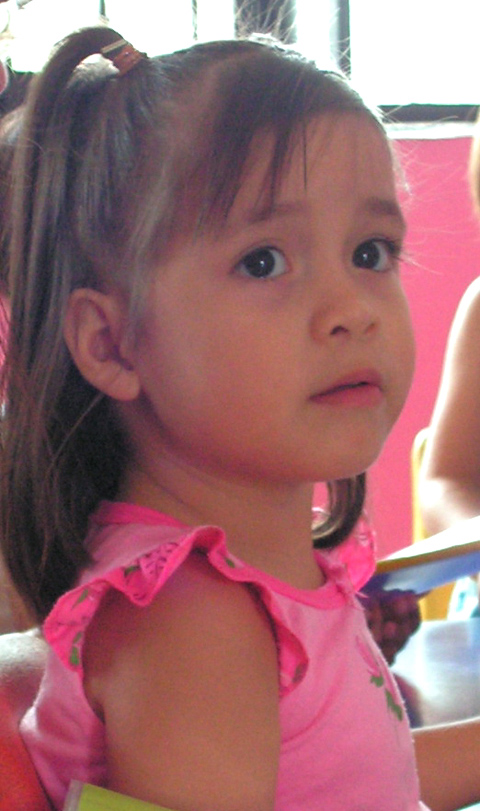
This year we had some “homemade” books to handout to the children.

casahogarapril1013.jpg

casahogarapril1012.jpg

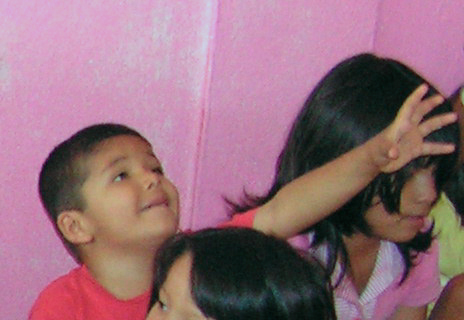
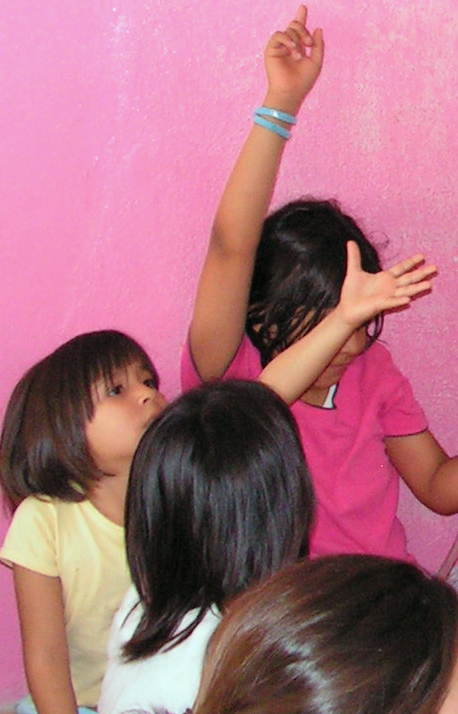
Our church group took an evening and cut out pictures from magazines.  We then organized them into books, and one of the woman in our group who speaks fluent Spanish wrote in them for the children to read.  I was the lucky one who got to deliver them.

casahogarapril1015.jpgcasahogarapril1016.jpgcasahogarapril1019.jpgcasahogarapril1017.jpg

casahogarapril1020.jpg

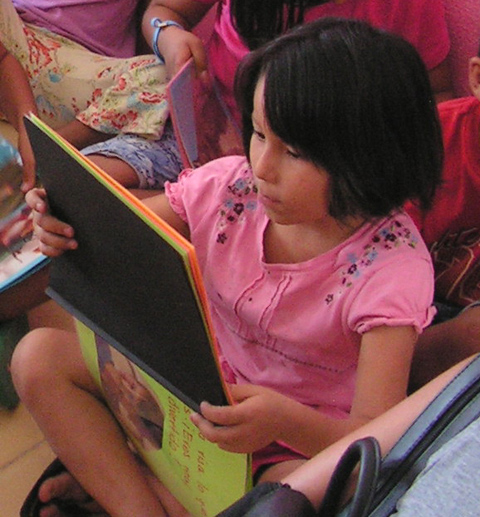
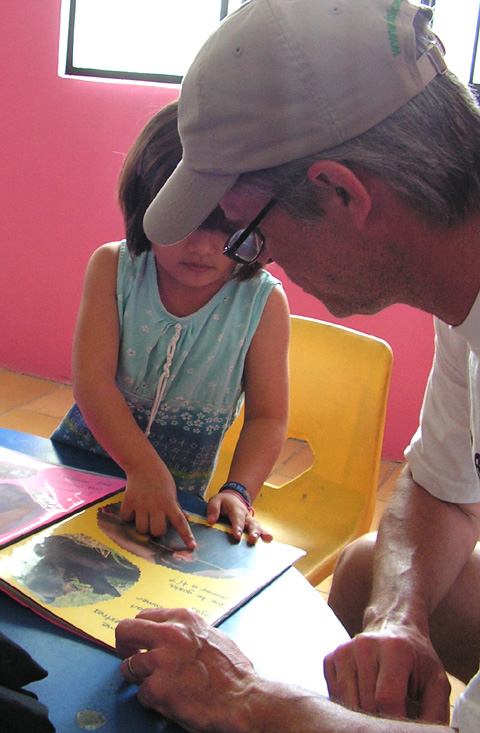
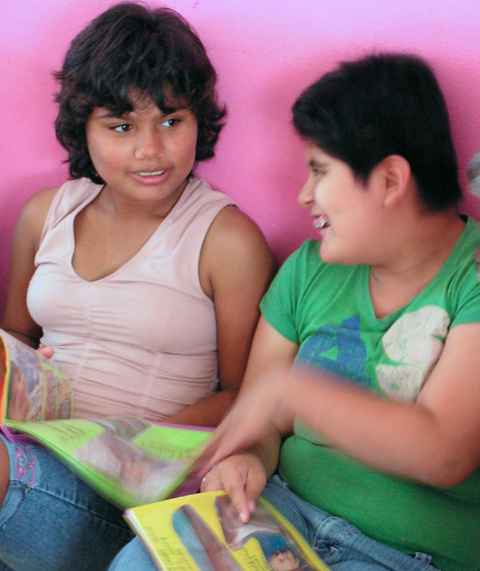
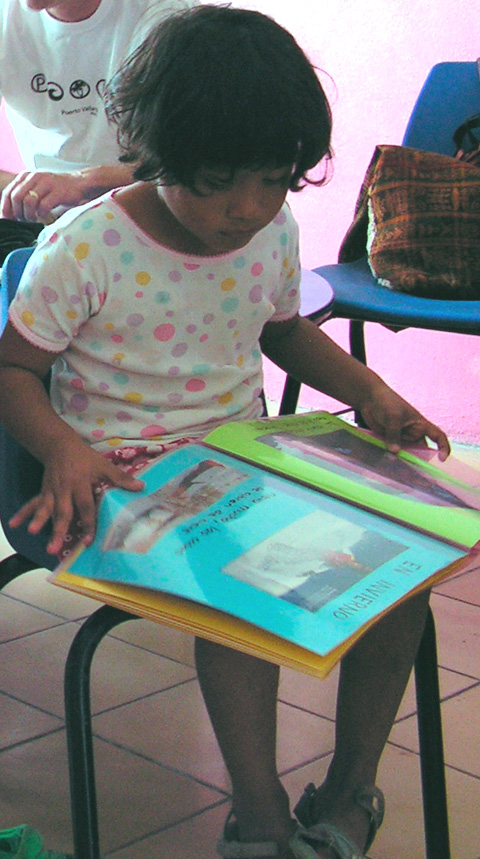
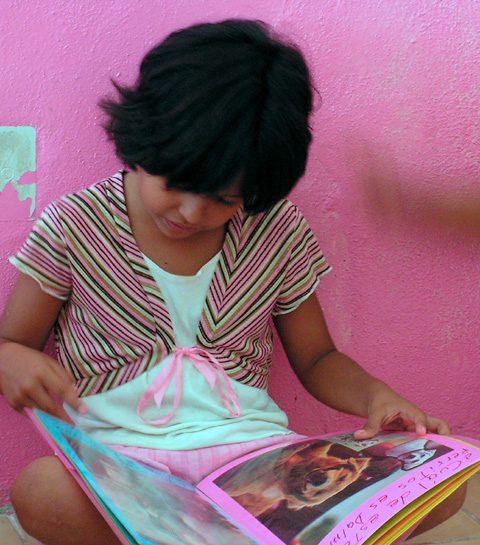
They were a huge hit!

casahogarapril1014.jpg

——————————

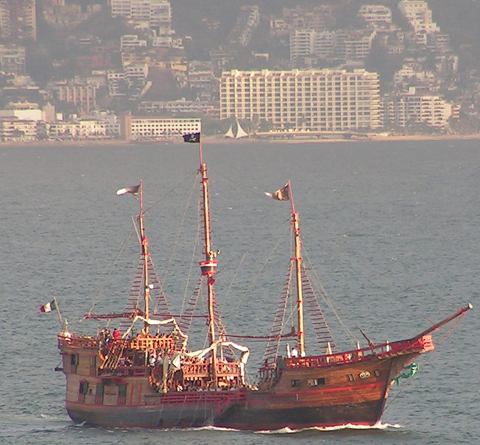
We love Puerto Vallarta.  From our terrace we are able to see the pirate ship that sails daily filled with tourists.

piratespvnew1.jpg

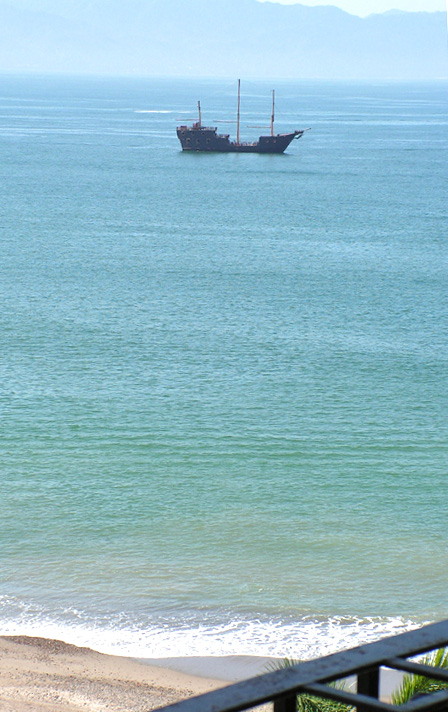
And we can hear the singing and dancing and cannon fire and are treated to a fireworks display every evening!

piratespv.jpg

But this year something was different!

piratespvnew2.jpg

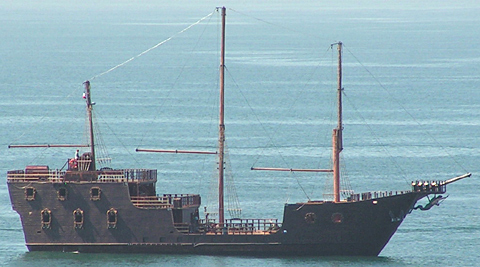
They are building a second pirate ship and we witnessed it’s maiden voyage.  (Okay well it was maiden to us.)

See the mermaid?

piratespvmermaid.jpg

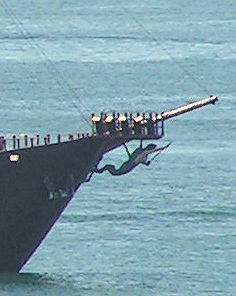
I was inspired by her and couldn’t wait to ink up my newest set from Crafty Secrets called “Mermaids” when I got home.

blog248mermaidwithwm.jpg

blog248mermaidcloseupwithwm.jpg

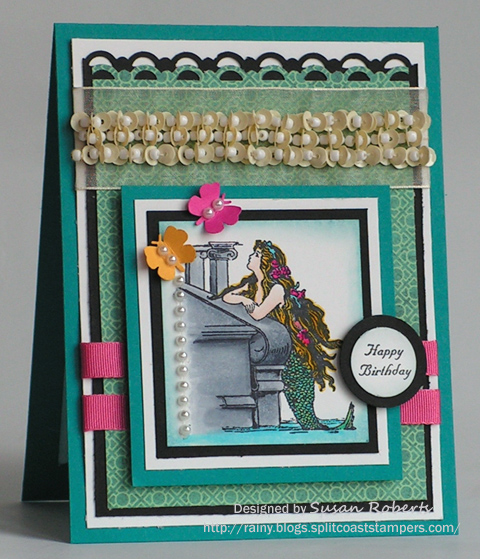
We also got an email from one of our renters there that she had left a charger in the condo.   So before we came home, we found it and mailed it back to her.  I made this card to send to her along with the charger.

blog248palmswithwm.jpg

blog248palmscloseupwithwm.jpg

Thanks for sharing PV with me!

smileypiratesani.gif

Happy Crafting!

—————————–

Mermaid Card:

Stamps: Crafty Secrets “Mermaids”; Rubber Moon “Happy Birthday”

Papers: SU! Whisper White, Summer Sun, Pink Passion, Taken with Teal; PTI True Black; Graphic 45 “On the Boardwalk Collection”

ellenhutsongraphic45.jpg

Just a note:  Ellen Hutson has put all of her in-stock Graphic 45 papers in her store on sale at 15% off through to the 28th!!  Use the promo code G45.

Inks: Memento “Tuxedo Black”; SU! Taken with Teal; Copics:

Mermaid: e0000.jpge001.jpge11.jpgy192.jpgrv04.jpgyg061.jpgbg02.jpgbg051.jpg

Water: bg02.jpgbg051.jpg

Seawall: c1.jpgc4.jpgc7.jpgnewc9.jpg

Accessories: Circle Nestabilities; Kaiser Flatback Pearls; EK Success Butterfly Punch; SU! Border Punch; GG Ribbon; Beads and Sequin Ribbon
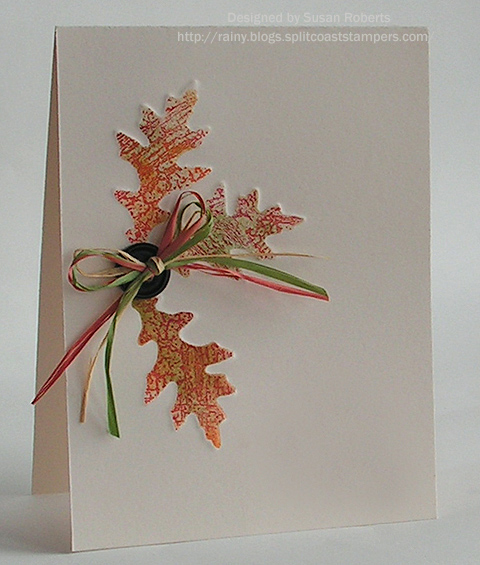
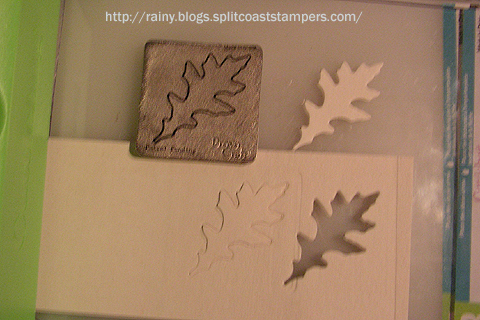
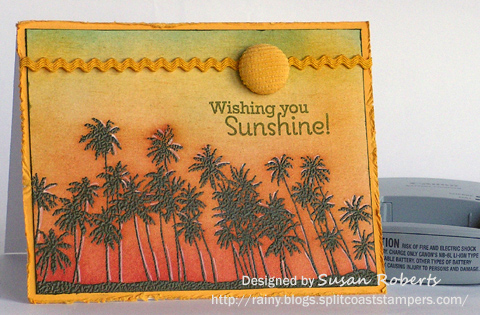
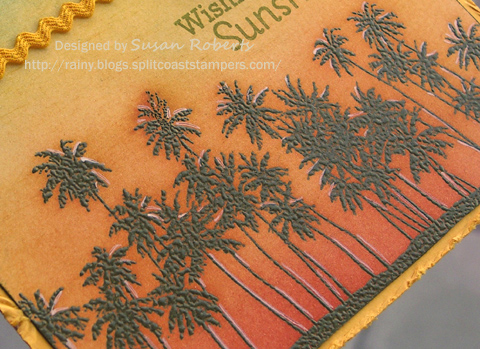
Palms Card:

Stamps: Viva Las Vegastamps “Palm Forest”; PTI “Scattered Showers”

Papers: SU! Summer Sun and Whisper White

Inks: Versamark; SU! Summer Sun, More Mustard, Pumpkin Pie, Really Rust and Not Quite Navy

Accessories: Embossing Powder; Ric-Rac; Corduroy Brad 


Woohoo!  Two weeks in a row playing in the Sketch Challenge over at Splitcoaststampers!  This week’s sketch was another beauty.  I’ve flipped it 90 degrees to accommodate the image used.

scs393sc277withwm.jpg

This was the first time this set “Up Up and Away” from Verve has seen ink.  It started out quite bright, but as shading was added, it became darker and darker.  I decided I liked the more vintage or distressed look and added some toner gray Copics over the entire balloon.  Finally some dots were added with a white gel pen.  The balloon was cut out and popped up for a little added dimension.

blog247sc277closeupwithwm.jpg

If you’ve never played along in these daily challenges, why not give them a try.  They are SO FUN!

Happy Crafting!

——————————

Stamps: Verve “Up Up and Away”; Stampers Anonymous “The Countdown”

Papers: SU! “Whisper White”; PTI “True Black”; Graphic 45 “A Proper Gentleman”, Timely Point of View”

Inks: Memento “Tuxedo Black”; SU! “So Saffron”; Copics:

rv14.jpgrv19.jpgy191.jpgbg05.jpgbg09.jpg

e081.jpgt0.jpgt3.jpgt5.jpg0.jpg

Accessories: Striped and Black GG Ribbons; Brads

blog246sc276withwm.jpg

Seems like awhile since I’ve been able to play along in a Splitcoaststampers Sketch Challenge.  So this was fun!

Here is a closeup of the crocheted flowers.  Both flowers have been colored with Copics to match the designer paper.

blog246sc276closeupwithwm.jpg

I love using Copics to make custom color accessories!!

Short post today.  I have a sister coming to visit for a few days and there are some things (haha.. okay the whole house) that need cleaning before she gets here.

Happy Crafting!

——————————

Stamps: Crafty Secrets Clear Art Stamps “Garden Girls” and “Mouse Party”

Papers: PTI Vintage Cream, New Leaf and Dark Chocolate; Graphic 45 “Le Romantique” Designer Paper

Inks: Memento “Tuxedo Black”; Copics:

Leaves: yg00.jpgyg03.jpgyg06.jpgw00.jpg

Tree Trunk: e00.jpge04.jpge08.jpg

Crocheted Flowers: r32.jpgy19.jpgw00.jpg

Accessories: Embossing Folder “Fleur De Lis”; SU! Striped GG Ribbon, Fleurettes, Felt Leaf and Brad

blog245ic227closeupwithwm.jpg

Splitcoaststampers Inspiration Challenge this week was to, “…make a card inspired by your home state, province, town or country. It could be where you were born, where you grew up and still call “home”, or where you live now.”  So here is my “Home Sweet Seattle”!  I’ve had this stamp of the Space Needle and Seattle skyline with Mt. Rainier for some time now.  It was fun to finally use it!

scs391ic227cardwithwm.jpg

I made the grid background design using some drywall tape.

blog245ic227drywallwithwm.jpg

After placing the tape on cardstock, I sponged it with a couple of different colors.

blog245ic227spongingwithwm.jpg

blog245ic227spongedwithwm.jpg

I thought the finished look was sorta cool.

blog245ic227finishedwithwm.jpg

Hope everyone is having a great weekend.

Happy Crafting!smileygardenerani.gif

——————————

Stamps: Rubber Soul ‘Seattle’; JustRite 1-5/8″ Circle Stamper with Alphabet

Papers: SU! Whisper White, Real Red, Garden Green and Ballet Blue

Inks: Memento ‘Tuxedo Black’; White Gel Pen; Copics

Accessories: Stickles; Rhinestones; Musical Notes and Tree Brads; Ribbon; Nestability Circle Dies; Cuttlebug; Dry Wall Tape

blog244withwm.jpg

There’s a great PROMOTION over at Ellen Hutson’s! It’s a 15% savings on all of her Hero Arts line!  AND she has some wonderful Hero Arts blog candy on her blog “Simple Dreams”.

And speaking of Hero Arts, I have been playing with some of their fun images.  I’ve made a magnetic puzzle.  Check it out over in the CLASSroom!

Happy Crafting!

The following post is one that I tried to post last Friday.  However, because of the Splitcoaststampers server migration last week, there were some blog issues and this post did not show up here on my blog.  I apologize to anyone who is receiving this post for the second time through their email subscription to my blog.  Hopefully the problems are fixed and all will work fine this time.  🙂

——————————

blog243cardwithwm.jpg

I’m still having fun playing with Essentials by Ellen: Craft-a-Board and dry embossing die cut images onto cardstock.  On this card, I have used the Cuttlebug’s set of 4 die cuts called “Leaves”.

The first step was to die cut the leaves from the Craft-a-Board.  Next the leaves are placed on the cardstock and run through the Cuttlebug.

blog243craftaboardwithwm.jpg

blog243embossing1withwm.jpg

Then a (reverse) mask is cut and placed over one of the embossed leaves.

blog243mask1withwm.jpg

blog243mask2withwm.jpg

Taking my “Abstract Backgrounder” I then stamped the leaf in two or three different colors.  Each leaf was stamped in this manner and then lightly sponged before removing the mask.

blog243stamping1withwm.jpg

blog243stamping2withwm.jpg

Here is a closeup of the 3 leaves on today’s card.

blog243closeupwithwm.jpg

The leaves need to be embossed all at the same time.  So with the 3 leaves above, I had 3 separate die cut leaves.

Continuing to play, I die cut several of the oak leaves and some of the maple leaves from the Cuttlebug “Leaves” set.  I placed them all onto the cardstock and embossed it.  Lastly I lightly sponged over the embossing.  Here is the result!

blog243embossing2withwm.jpg

This can now be used as a background paper.  Isn’t is wonderful.  I so love the look of embossing!!

Happy Crafting!!

——————————

Stamps: CHF “Abstract Backgrounder”

Papers: PTI “Vintage Cream”

Inks: SU! Old Olive, Pumpkin Pie and Ruby Red

Accessories: Cuttlebug “Leaves” Die; Button; Raffia

© COPYRIGHT © and FTC Declaration

All content on my blog is COPYRIGHT © 2008-2024 Susan Roberts. Please don't copy any of my stuff for publication, design or contest submission. I declare that I sometimes promote and/or endorse products that I currently receive or have received either for free or at a discount. That said, I won't ever recommend anything that I don't personally enjoy using or feel is a quality product.
© 2020 Rainy Day Creations Suffusion theme by Sayontan Sinha