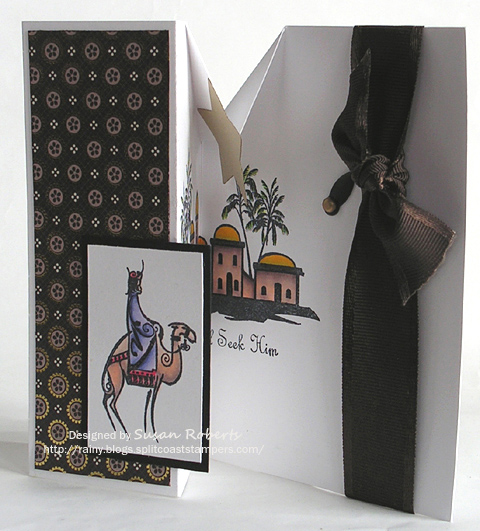
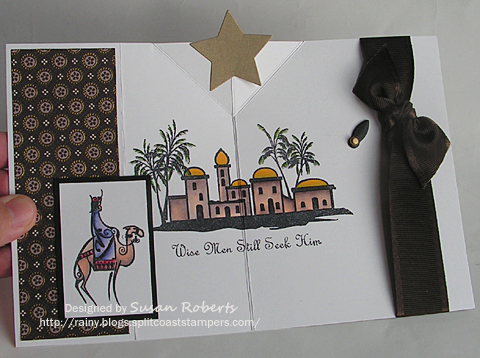
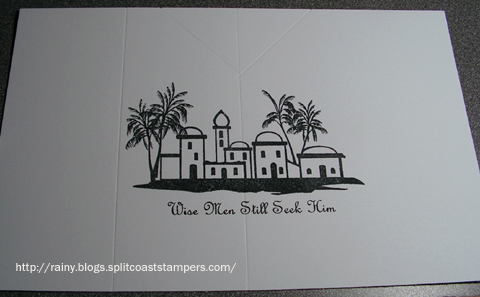
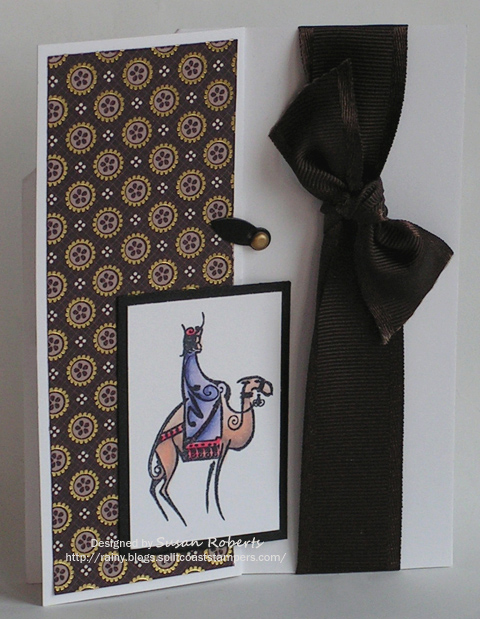
As the guest designer over at Our Creative Corner, I made this “Fancy Folds” card for this week’s challenge.

This was super easy and quick to make and has such a fun surprise as you open it!

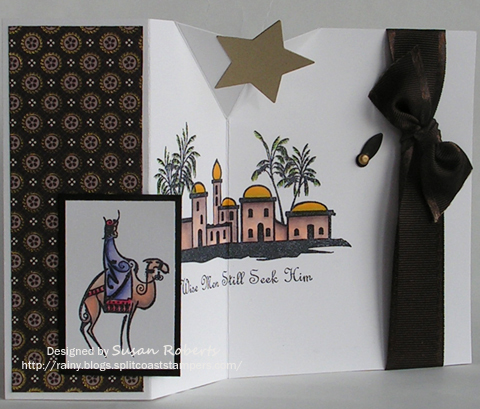
When the card is closed the pop-up star is completely concealed.

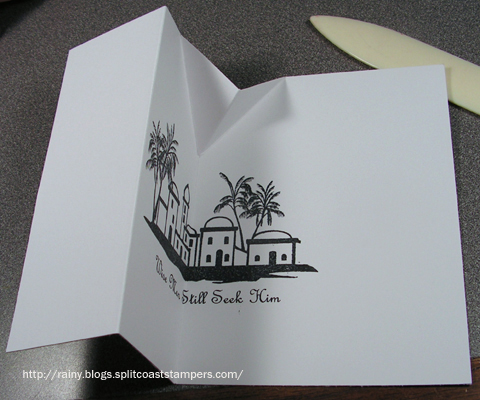
As the card is opened it begins to rise.

Here is the card fully open.

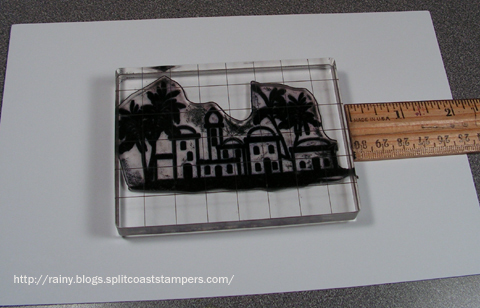
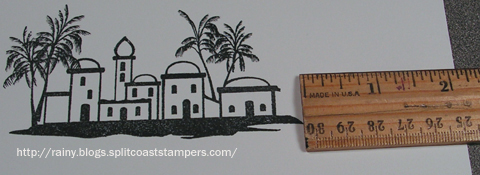
Before doing any of the scoring for this card, I first stamped the inside image.  This prevents any problems with trying to stamp over a score line which can distort a stamped image.  Since 2-1/8″ will show on both sides when the card is closed, I made sure that the image and sentiment were stamped at least that distance from either side of the card.

This design uses a standard sized card base of 5-1/2″ x 8-1/2″ with the center scored at 4-1/4″ and an additional score at 2-1/8″ to the left of the center score.

On the center score line, measure 1-1/2″ down and lightly mark the fold.  Then measure 1-1/2″ to the left and right at the top of the score line and lightly mark it.  Then score from the top marks to the center mark.

Fold the card and pinch the top 1-1/2″ on the center score forward.  The 2-1/8″ score, to the left of the center fold, is folded forward.  It may sound confusing, but a picture is worth a thousand words.  It’s really easy-peasy.

Make sure that when you adhere your star or flower or whatever you want to pop-up, that it is attached only on the left hand side of the fancy fold.

Also, check out this great TUTORIAL.  I was inspired by it almost two years ago and have been wanting to try it ever since.  Thanks so much for sharing it, Bonnie!

Have a great weekend.  Happy Crafting!

——————————

Stamps: Flourishes City of David

Papers: PTI Select White and Basic Black; SU Gold; SEI Rochester DP

Inks: Memento Tuxedo Black; Copics:


Accessories: Spellbinders Stars Five Nestabilities; May Arts Satin Edged Grosgrain Ribbon; Photo Anchor; Brad
Oct 172011

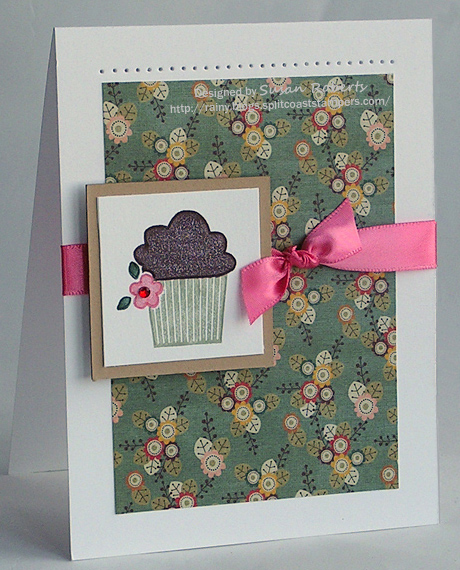
The Clean & Simple Challenge at Splitcoaststampers today is all about “Cupcakes.”  I played along and made this card.

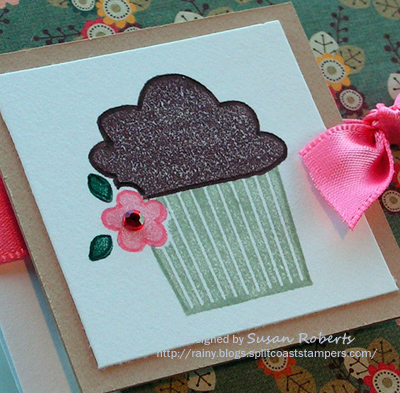
The little flower was stamped first and then masked before stamping the top (which is of course chocolate!) and bottom of the cupcake.  A marker was used to outline all of the cupcake and flower.  This helps to define the images.

I’ve been cleaning/moving my stamp room so that we can paint and install new carpeting.  Can’t believe how much stuff I’ve accumulated!  But it feels great to get everything cleaned up and organized.

Thanks for dropping by!  Happy Crafting!

——————————

Stamps: SU Create a Cupcake

Papers: PTI Select White; My Mind’s Eye Six by Six All Spice DP

Inks: SU Chocolate Chip, Mellow Moss, Cameo Coral and Handsome Hunter

Accessories: Inchie Arts Twinchie; PTI Berry Sorbet Satin Ribbon; Kaiser Red Rhinestone; SU Paper Piercer and Template

One of the “fun” things that my oldest son likes to do is attend Burning Man.  He has invited me to come along more than once.  We’ll see.  Maybe some year I’ll call his bluff and actually go!!  LOL

A couple of year’s ago at Burning Man 2009, one of his friends snapped this picture of the Groovix Cube which was a huge interactive 3-player Rubiks Cube.

It was such a hit, in fact, that the Pacific Science Center here in Seattle decided it would be cool to exhibit it.  And who is volunteering her time to help make it happen?  Check out Elise, my son’s girlfriend HERE and HERE.

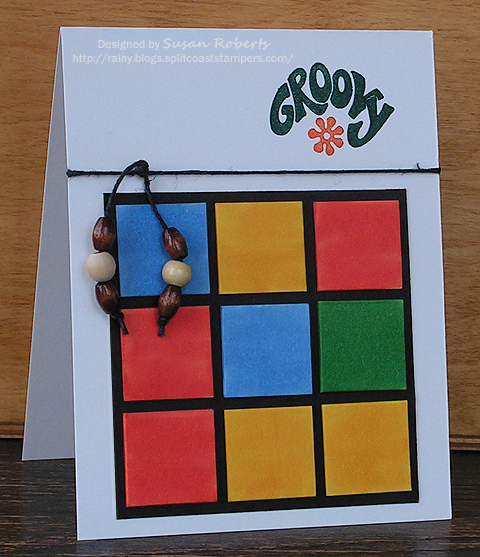
We’ll be having Elise for a birthday dinner and cake next week.  I couldn’t resist making her a cube themed card for it.

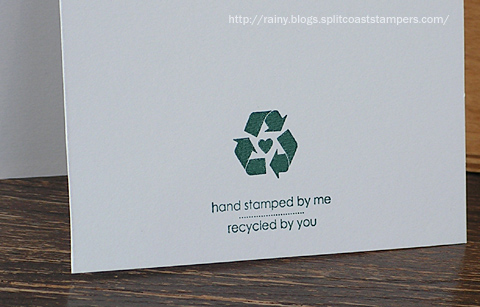
Hope she thinks its fun.  And knowing Elise, I think she’ll appreciate the back of the card as well.

If you are in the Seattle area, this exhibit is open until January 2, 2012.  Fun!

——————————

Stamps:  SU Groovy and So Green

Papers:  PTI Select White and True Black

Inks:  SU Handsome Hunter and Only Orange; Copics:

AccessoriesInchie Art Inchies; Hemp; Wooden Beads

Two very different brides deserve two very different wedding cards.

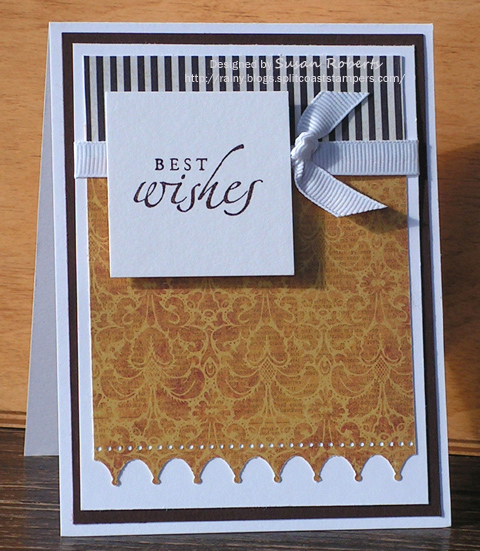
Bride number one’s colors were brown and orange.  The couple was registered at REI which is a sporting goods store.  Here is their card.

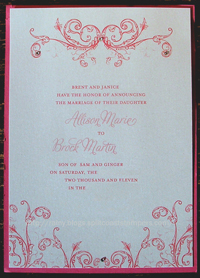
The invitation offered some inspiration.

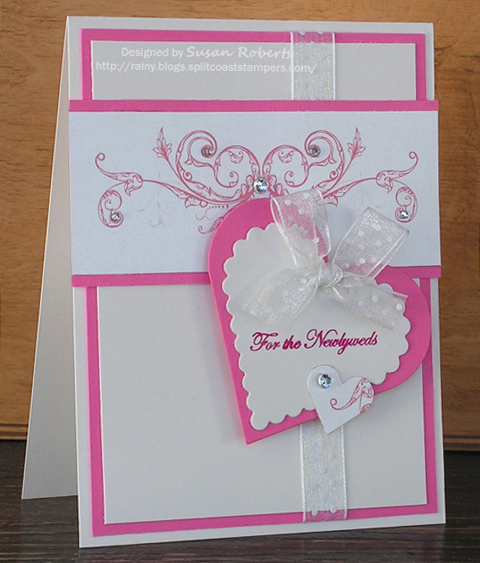
The second bride’s invitation was all girl with rhinestones and lots of pink, pink and more pink.

The top panel across the card and the small heart were made from the invitation.

Both of these cards have been entered into the “Anything Goes” Stampin’ Sisters in Christ challenge this week .  They have a “sweet” stamp set to give away!  Check it out!

It’s always fun to tailor a card to fit the recipient.  And with wedding cards, getting clues from the invitation makes this even easier.

Hope you have a great week.  Happy Crafting!

P.SMy newest sweet little granddaughter has been named, Brooklyn Suzanne.  I love it!

——————————

Card 1:
Stamps: SU Sincere Salutations
Papers: PTI Select White and Dark Chocolate; My Mind’s Eye “Lost & Found – Sunshine” DP, Crate Paper “Portfolio Collection” DP
Inks: SU Chocolate Chip
Accessories: Inchie Arts Twinchie; Martha Stewart “Crown” Punch; GG Ribbon

Card 2:
Stamps: SU Teeny Tiny Wishes
Papers: PTI Vintage Cream and Hibiscus Burst; Invitation
Inks: SU Pink Passion
Accessories: Rhinestones; Dotted Swiss Ribbon; Heart Nestabilities Classic and Scalloped

© COPYRIGHT © and FTC Declaration

All content on my blog is COPYRIGHT © 2008-2024 Susan Roberts. Please don't copy any of my stuff for publication, design or contest submission. I declare that I sometimes promote and/or endorse products that I currently receive or have received either for free or at a discount. That said, I won't ever recommend anything that I don't personally enjoy using or feel is a quality product.
© 2020 Rainy Day Creations Suffusion theme by Sayontan Sinha