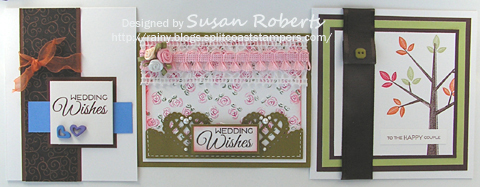
Here are the cards that I made for my granddaughters for Halloween.

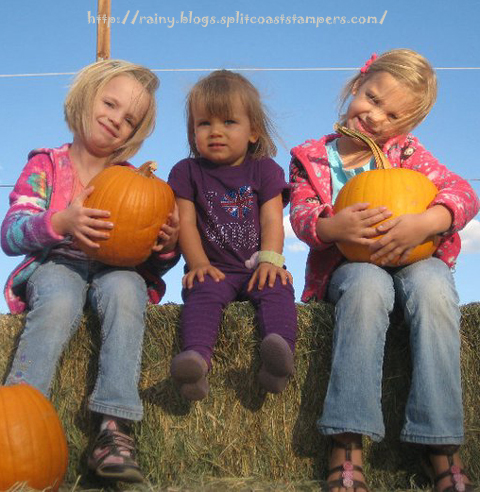
These sweet girls just melt my heart.

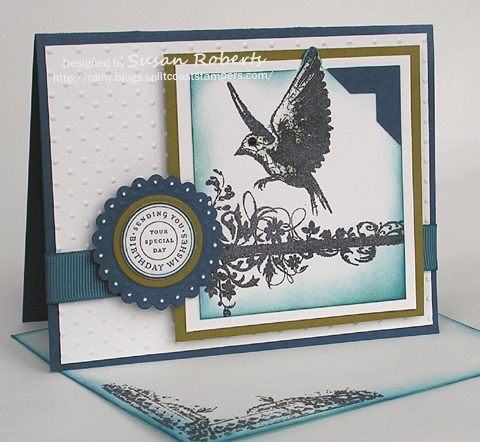
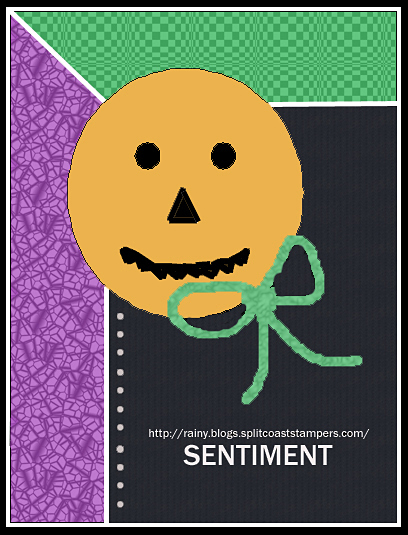
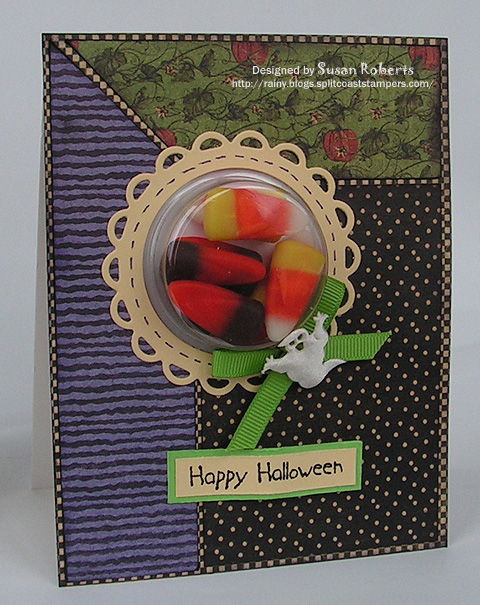
After drawing up a sketch, I made the cards for the twins.

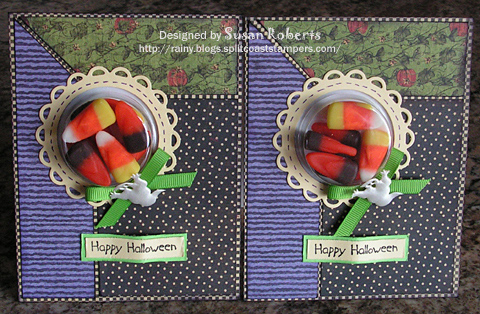
Last year these treat cups were used for their birthday cards, too.

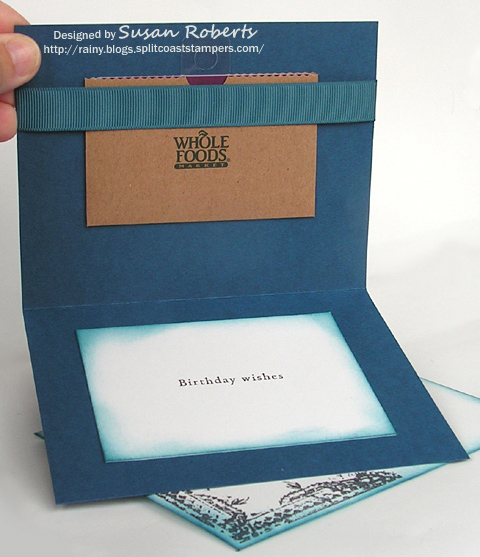
But there was no way to get to the candy without destroying the cards.  So this time I made sliders to access the candy.  I used this great tutorial for them.  Thank you, Cindy!

I took some pictures along my journey making these sliders, as well.

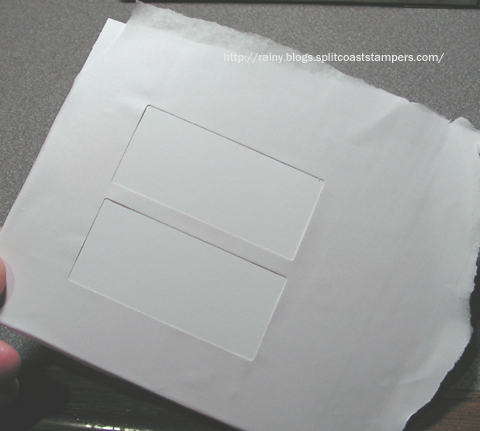
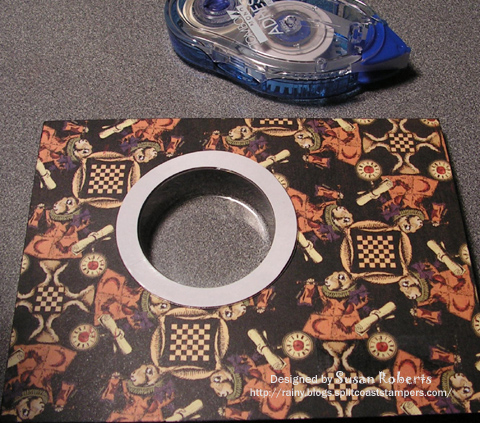
The card fronts were made according to the sketch.  Using one of the Circles Nestabilities, circles were cut in the card fronts.  The card fronts were then used as templates to mark the position of where to cut the circle in their backing.

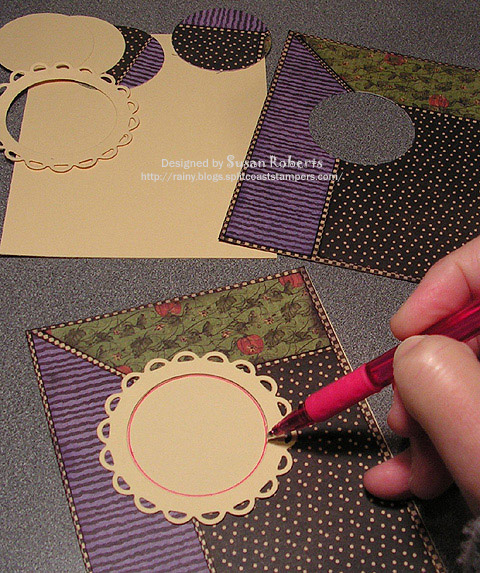
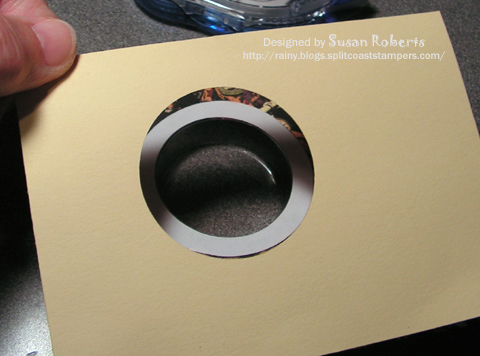
The backings were trimmed leaving a wider border on the side where the slider tabs would be.

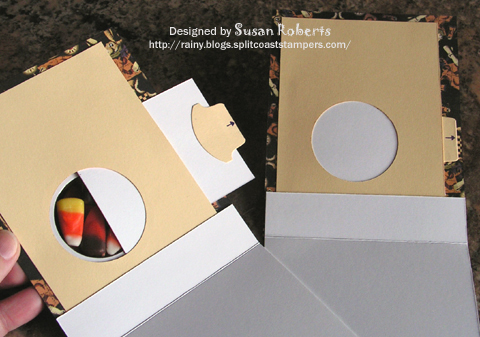
I made sure that the sliders were large enough to cover the holes when fully closed.

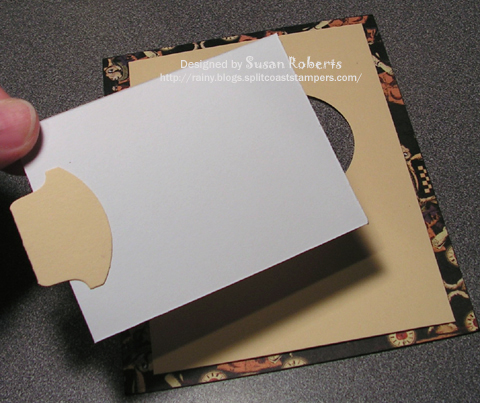
When the tape was placed on the backings, I was careful to leave enough room for the sliders to function properly without coming in contact with any adhesive.

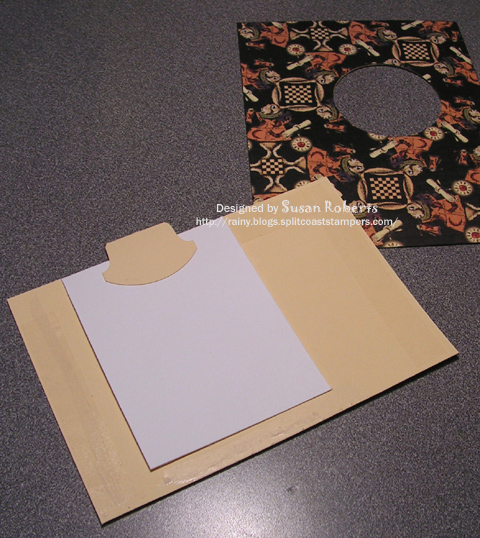
Before adhering the backings in place, the cups were put into the card fronts.

The backings were then adhered to the card fronts.

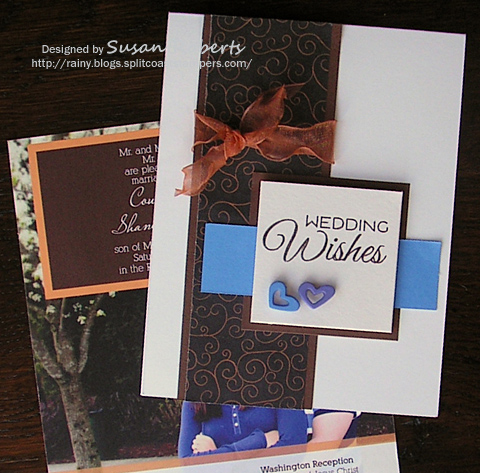
Card bases with a 1″ front were made and adhered to the card fronts.  The candy was placed in the treat cups and the sliders were put into place.

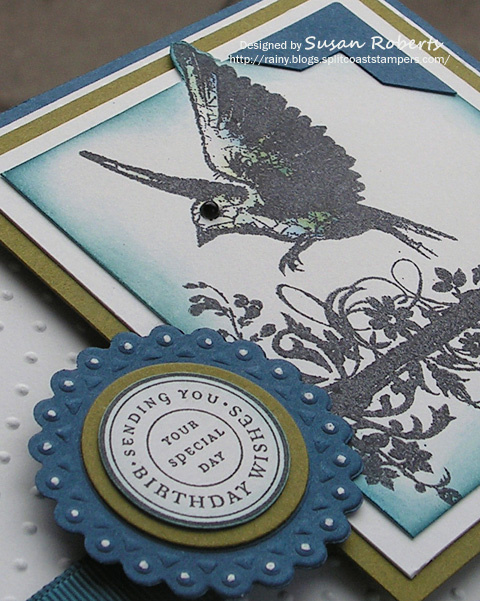
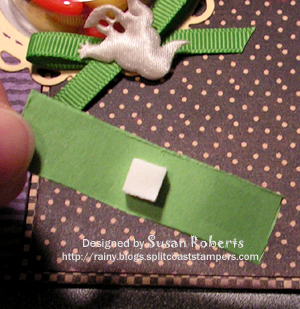
The sentiment panels were bent to form a wave.  A small foam tape square was placed on the center back, and regular adhesive was placed on each side.  (The foam tape will keep the “bump” in the sentiment panels once they have been adhered to the card fronts.)

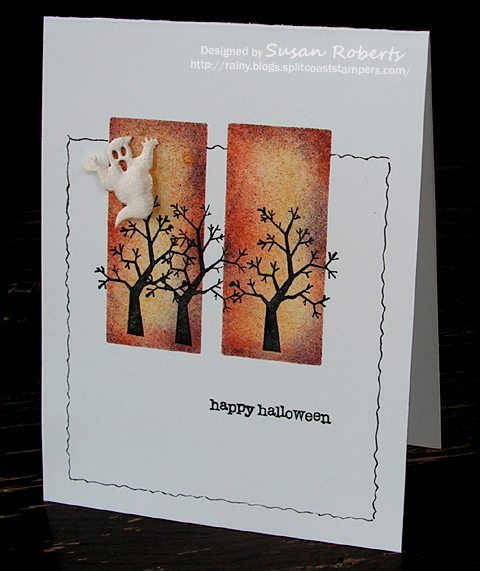
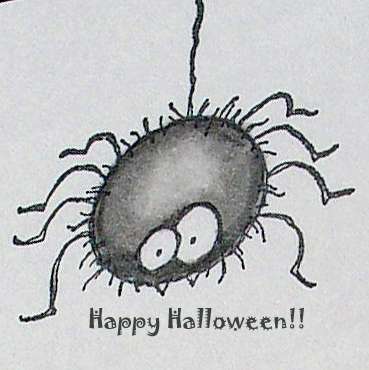
And here is little Kate’s card.

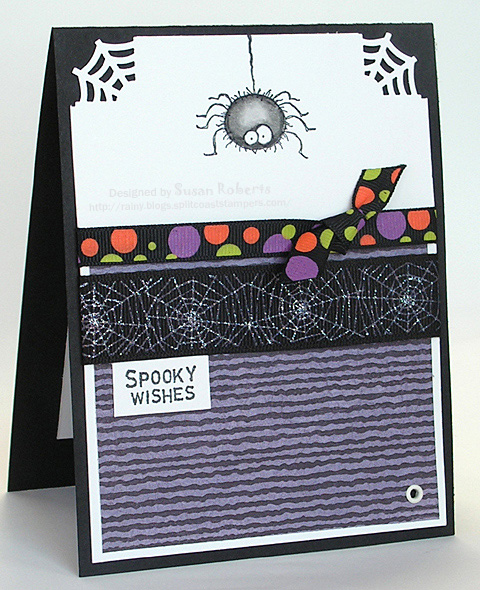
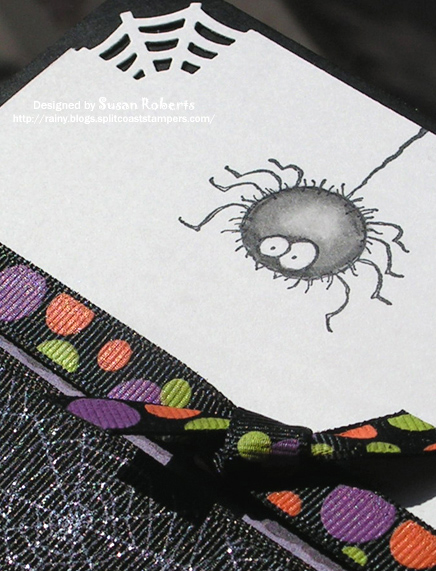
The spider was colored with Copics.

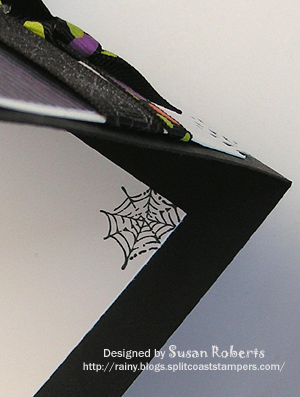
It took no time at all, but gave a little touch of fun to stamp a quick spiderweb to the inside of the card.

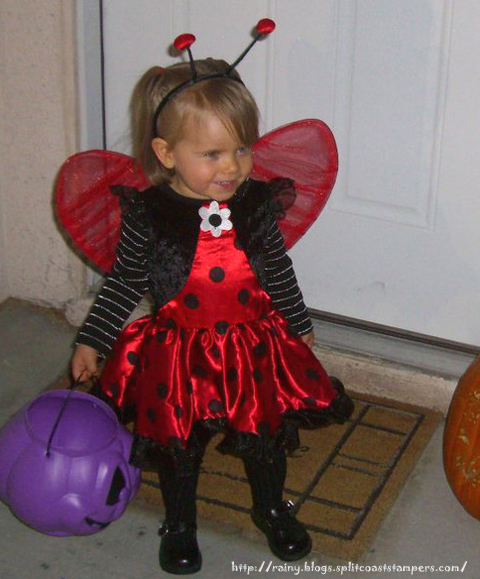
Here is my little ladybug Kate all ready to go trick or treating.

Hope everyone has a safe and..

——————————

Twins’ Cards:

Stamps: American Art Stamp “Halloween”

Papers: PaperTrey Ink “Select White”; SU “Barely Banana” and “Green Galore”; Graphic 45 “Hallowe’en in Wonderland” Collection

Inks: SU “Basic Black”

Accessories: Nestabilities “Classic Circles” and “Lacey Circles”; SU Tab Punch; GG Ribbon and Satin Ghost; SU Treat Cups; Candy Corn 🙂

Kate’s Card:

Stamps: SU “Booglie Eyes”; American Art Stamp “Spooky Wishes” Michael’s Dollar Bin Spider Web

Papers: PaperTrey Ink “Select White” and “True Black”; Graphic 45 “Hallowe’en in Wonderland” Collection

Inks: Memento “Tuxedo Black”; Copics: T0, T3, T7

Accessories: Martha Stewart “Spiderweb” Corner Punch; Eyelet; GG Ribbons from Michael’s

Yeah!  I got to play along in yet another Splitcoaststampers’ challenge!  This time the card is for the Inspiration Challenge found here.  The poster I used for the inspiration today is found here.

The card is for my oldest son’s girlfriend.  There is a gift card tucked under the ribbon on the inside of the card.  The little Whole Foods holder is actually taped to help keep it in place.  The gift card can be easily pulled out from the holder with a little clear tab which is attached to the top of it.

If you get a chance you might want to give the Splitcoaststampers challenges a try.  They are a ton of fun!

Thanks for dropping by today.  Happy Crafting!

——————————

Stamps: Stampers Anonymous “Flights of Fancy” and “Regal Flourish; SU! “Circle of Friendship”

Papers: PTI “Enchanted Evening”, “Ripe Avocado” and “Select White”

Inks: Memento “Tuxedo Black”; SU! “Not Quite Navy”; White Gel Pen; Copics:

Accessories: PTI 5/8″ Grosgrain Ribbon “Enchanted Evening”; Cuttlebug “Swiss Dots” Embossing Folder; Nestabilities Circles and Beaded Circles; SU! Corners Punch

Oct 182010

Got to play along in another Splitcoaststampers challenge today, the Clean & Simple (CAS) Challenge #89.

Heather Telford (Heather T on Splitcoaststampers) is a master at clean and simple and elegant creations.  It is always such a treat to visit her blog “Bits and Pieces”, and it is from there that the idea for this card was inspired.

To make the rectangular background panels, I first made a mask with one of the dies from the Nestabilities “Long Classic Rectangles Small” set.

Once two rectangles had been cut out of the masking paper, it was placed on the cardstock.

The inks were sponged on:

First:  More Mustard covering the entire rectangular areas with ink.

Second: Really Rust around the entire edges.

Third: Basic Black on select areas around the edges.

(It is critical to make sure that your masking paper is large enough to cover all or most of the card front so that ink does not get anywhere except in the intended cutout areas while sponging.)

Thanks for dropping by today and Happy Crafting!

——————————

Stamps: SU! “Home Is Where the Haunt Is” (Retired) and “Teeny Tiny Wishes”

Papers: Papertrey Ink “Select White”

Inks: SU! More Mustard, Really Rust and Basic Black; Copic Multiliner

Accessories: Nestabilities “Long Classic Rectangles Small” and Puffy Satin Ghost Ribbon

Lots of wedding wishes today.  Three to be exact.

For the first card, the invitation was used as a source of inspiration for the color scheme.

This week’s Clean and Simple Challenge on Splitcoaststampers was to incorporate something crinkled onto your card or project.  So using a heat embossing gun, the organdy ribbon was heated until it started to melt or “crinkle”.

This card also follows the Sketch Challenge on Splitcoast for this week.  It is, however, rotated 180°.

The second card was made… just cuz.  hehe  With all of the Autumn weddings I hadn’t made a pink rose card for awhile, and well frankly… it was time!  lol

I used my new “Roses” embossing folder and colored the roses directly on the folder with markers before embossing.

LOVE the results!

There was even enough ink left on the embossing folder after the first panel was done to do a second.

Look at these roses close up!  Seriously pretty stuff.

Back in August I helped a couple make their wedding invitations.  When I went to actually make them a wedding card I hesitated to use the same stamps/colors/theme, but then gave in to it.

Here is the invitation. I added a yummy chocolate grosgrain ribbon with a satin edge.

The weddings are both this weekend.  Gonna be busy and fun.  Weddings are such a celebration!!

——————————

Card 1:

Stamps: Verve “Love Story”

Papers: Papertrey Ink “Select White”: Stampin’ Up “Ballet Blue”; Mary Engelbreit Creative Imagination “Friend Pattern”

Inks: Stazon “Timber Brown”

Accessories: Inchie Arts “Twinchie Square”; Toffee Organdy Ribbon; Heart Buttons

Card 2:

Stamps: Verve “Love Story”

Papers: Papertrey Ink “Select White” and “Ripe Avocado”

Inks: Versafine “Onyx Black”; Stampin’ Up “Regal Rose”, “Rose Red” and “Always Artichoke”; White Gel Pen

Accessories: Martha Stewart Deep Edger Punch “Lattice Heart”; Kaiser Flat Back Pearls “Snow White”; Cuttlebug and “Roses” Embossing Folder; May Arts Lace Ribbon, Fringe Ribbon; Offray Satin Roses

Card 3:

See this Post.

Oct 062010

This is such a wonderful sentiment:

I am the Nursery Leader at my church.  Every Sunday I spend two hours with all the 18 month to 3 year olds in our congregation.  My DH is there with me and so is Bruce.  Bruce is one of the kindest men you’ll ever meet.  He has 9 children of his own (count the birds on the wire), but they are grown.  And so now every Sunday he helps take care of others’ little ones.  This card was made for Bruce’s birthday.

The timepiece image was stamped in gray.  The man and umbrella image was stamped with Versafine “Onyx Black” combined with VersaMark and then embossed with a clear embossing powder.

Thanks for dropping by and spending some of your time with me today.

Happy Crafting!

——————————

Stamps: Stampers Anonymous “Creative Muse”, “Soulful Journey” and “Elements of Time”

Papers: PaperTrey Ink “Terracotta Tile”, “Dark Chocolate” and “Vintage Cream”

Inks: Versafine “Onxy Black” and VersaMark

Accessories: Clear Embossing Powder; Braided Twine Ribbon; Black Rhinestone; Cuttlebug/Cuttlebug “Pop Culture” Embossing Folder

© COPYRIGHT © and FTC Declaration

All content on my blog is COPYRIGHT © 2008-2024 Susan Roberts. Please don't copy any of my stuff for publication, design or contest submission. I declare that I sometimes promote and/or endorse products that I currently receive or have received either for free or at a discount. That said, I won't ever recommend anything that I don't personally enjoy using or feel is a quality product.
© 2020 Rainy Day Creations Suffusion theme by Sayontan Sinha