I couldn’t make up my mind what to title this post so I just went with a little of everything! LOL
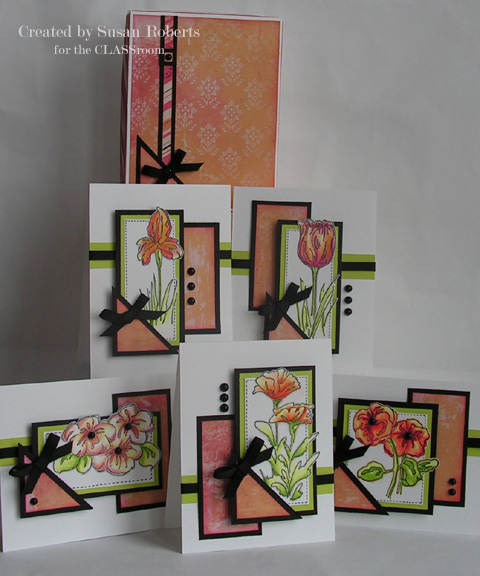
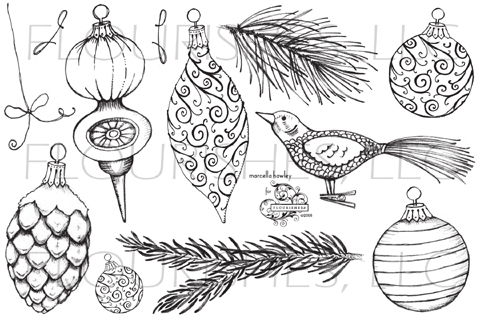
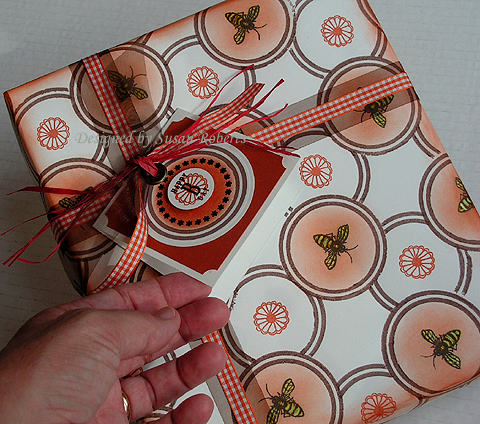
This week Flourishes has asked their designers to feature the Peony set. Chances are they wanted us to do a card or project with… well… the Peony image. But I just couldn’t take my mind off of the bugs in this set. I’ve mentioned before that I love the bee. So I decided to combine the bee image with some of my JustRite Stamper’s Toys to make a gift card and wrapping paper. Oh yes, I also used a small flower image from Flourishes Fantasy Floral Garden set to stamp the tissue paper. Here is the finished project.
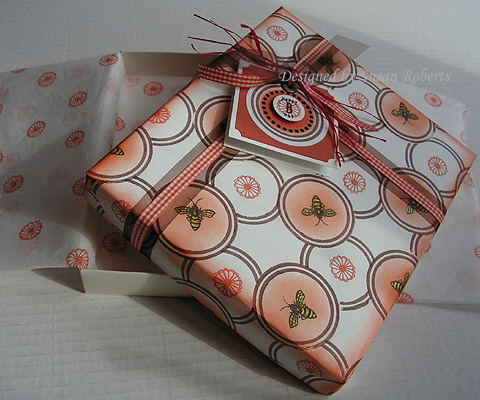
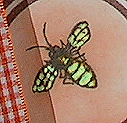
Using SU!’s Whisper White wrapping paper I stamped and masked and stamped some more with one of JustRite’s new borders in their 2-5/16″ Harmony Classic Circle II Stamp Ensemble. And aren’t those bees cute! I added Twinkling H2O’s in Lemondrop to give each bee a pretty shimmer.
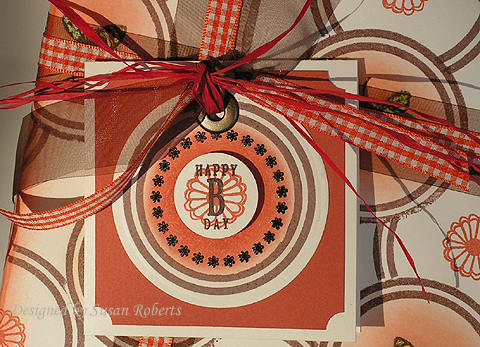
For the gift card I also used the flower border from JustRite’s 1-5/8″ Curlz Monogram Stamper Kit. It is embossed with black embossing powder. The letters are Times Roman Font.
 Click on photos to enlarge.
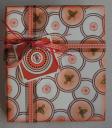
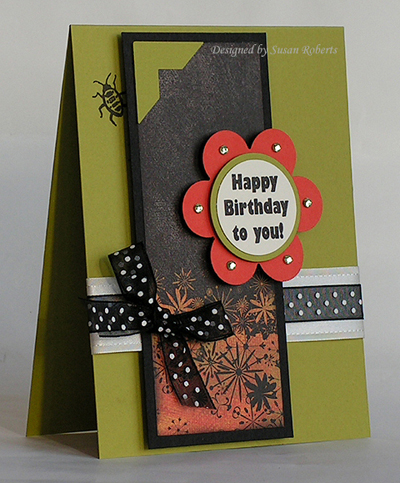
As much fun as I have had with the bee, the cute little beetle in the Peony set had not been inked. That needed to change. See him peeking out from behind the panel of the new Sparkle DP from Memory Box. The sentiment is from JustRite’s Curlz Monogram Stamper Kit. It is one of their new centers.
I know exactly who I’m going to give this card to. My oldest son’s girlfriend LOVES bugs. She has been on expeditions/grants to Costa Rico to study butterflies and the Amazon to study ants. Well I have a deathly fear of spiders. The good news is that whenever she is around, if a spider decides to appear, I can call on her and she will just go over to the thing, pick it up and put it outside!!! So ya… she LOVES bugs and her birthday is next week. This one’s for her.
A couple of weeks ago I mentioned that my 17 year old son wanted only one thing for his birthday and that was tickets to see Shawn Johnson in the “Gymnastics Superstars” at the Tacoma Dome. I had managed to get him 5th row tickets in the center section. I was very pleased with myself. WELL….. It was this past Saturday. He came home floating on air. It turns out that rows 1-4 are bleachers which they couldn’t set up because they had the gym floor elevated for the gymnasts. So… HE WAS IN ROW 1!!!! He told me that if he could have picked his seats out of the entire dome, he would have picked the ones he had. How cool is that. The balance beam was set up not even 10 feet from him! When Shawn finished her routine she came over and high-fived him!! So did Nastia. The funniest thing was his comment about Shawn’s floor routine. I guess after she finished with it, she once again came and high-fived him. Well he said that she was “a little sweaty” after her routine. So when she touched him he got some of her sweat on him. I thought he was going to say it was kinda gross. But no… his response? “It was great!!!!” Life is good.
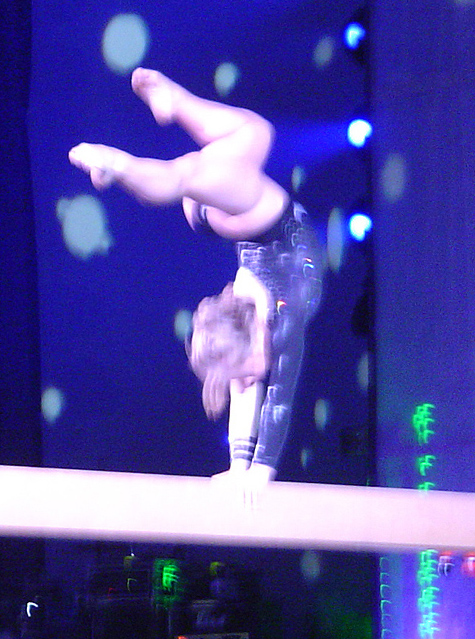
Shawn Johnson (above) and Nastia Liukin (below)
Tacoma Dome – September 27, 2008

——————————
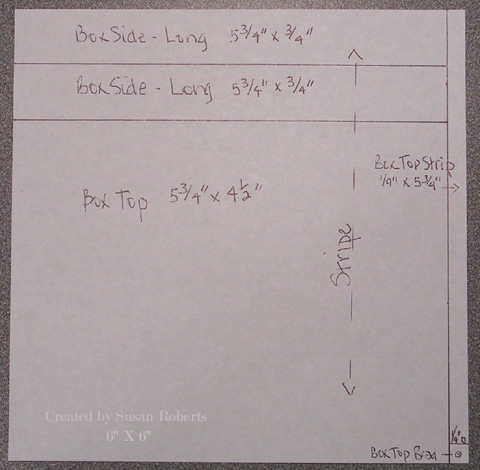
Wrapped Box Project
Stamps: Flourishes “Peony”, “Fantasy Floral Garden”; JustRite “Curlz Monogram Stamper Kit 1-5/8″”, “Harmony Classic Circle II Stamp Ensemble 2-5/16″”, Times Roman Font
Papers: SU! Wrapping Paper, Really Rust, Whisper White; Tissue Paper
Inks: VersaFine Onyx Black; Memento Rich Cocoa; SU! Really Rust Classic and Yoyo Yellow, Summer Sun, More Mustard Markers, VersaMark
Accessories: LuminArte Twinkling H2O’s Lemondrop, May Arts Sheer Ribbon, Gingham Ribbon, Raffia, Cuttlebug, Nestabilities Circle Die Cut, Jumbo Eyelet, 1″ and 1/4″ Circle Punches, Ticket Corner Punch, Black Embossing Powder, Eclipse Masking Tape, Gift Box
Card
Stamps: Flourishes “Peony”; JustRite “Curlz Monogram Stamper Kit 1-5/8″”
Papers: SU! Kiwi Kiss, Tangerine Tango, Basic Black, Very Vanilla; Memory Box “Sparkle”
Inks: VersaFine Onyx Black
Accessories: May Arts Ribbons Polka Dot and Satin, Kaiser Rhinestones, Cuttlebug, Nestabilities Circle Die Cuts, McGill Super Giant Flower Punch, Photo Corner Punch


