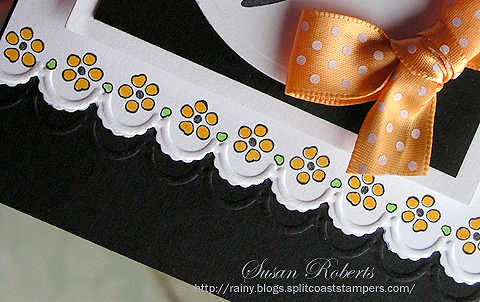
Cut.. Stamp.. Emboss. That’s the order that works best for me. On today’s set of cards the shaped borders were cut first with a couple of different dies from SU’s Adorning Accents collection.
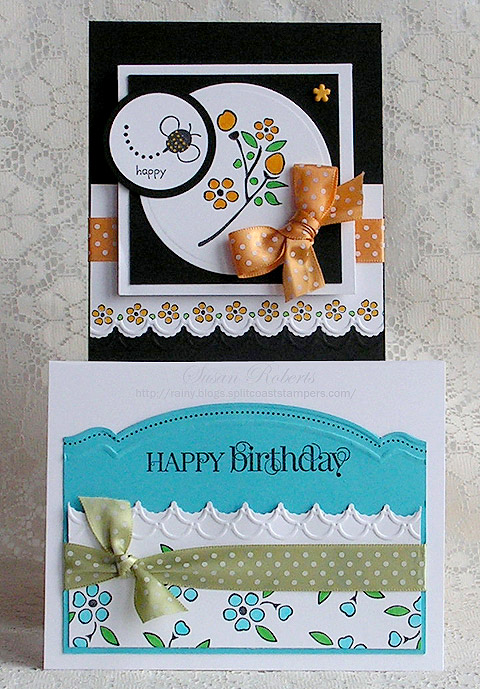
Next the borders were stamped with the coordinating stamps for each cut design. And lastly the borders were embossed with the coordinating embossing folders.

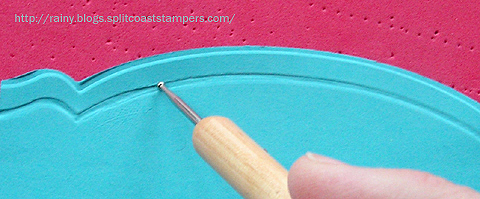
When running the cardstock and embossing folders through my embossing machine a second time, it tended to flatten the first embossed design. So while the cardstock was placed on a soft mat (Ornare Piercing Pad was used here), I traced the embossing tool over the embossed areas pressing gently to help redefine the original embossing.
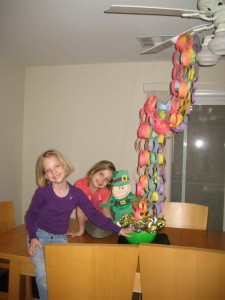
And before you go… just wanted to show you a fun paper rainbow that my granddaughters made. Their mom took a picture of them next to the display. So fun!! Happy St. Patrick’s Day!!
 ——————————
Card1:
Stamps: SU Bordering on Romance, Just B and Happy Together
Papers: PTI Select White and True Black
Inks: Memento Tuxedo Black; Copics:
![]()
![]()
Accessories: PTI Swiss Dot Satin Ribbon; Floral Brad; Nestabilities Classic Circle Dies; SU Adorning Accents Die and Embossing Folder
Card2:
Stamps: SU Bordering on Romance and Curly Cute
Papers: PTI Select White; SU Tempting Turquoise
Inks: Memento Tuxedo Black; Copics:
![]()
![]()
Accessories: PTI Swiss Dot Satin Ribbon; Embossing Tool; Ornare Piercing Pad; SU Adorning Accents Die and Embossing Folder


