Aug 282012

The end of August… Growing up I always had such mixed feelings about this time of the year.  The warm and wonderful summer was almost over, and it was back to school and studying and going to bed at a much earlier hour.  But it was also exciting.  New classes and classmates, new teachers, and new adventures all awaited just days away.

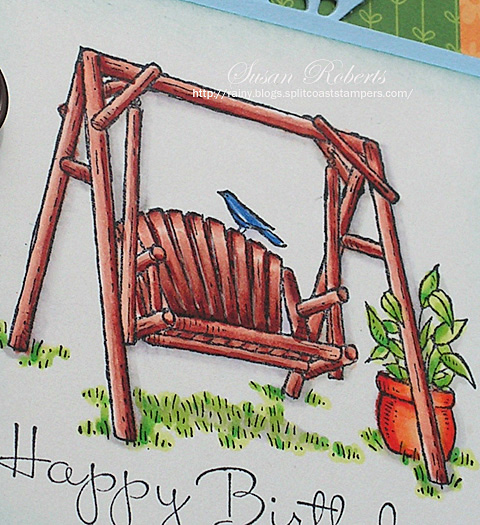
I love this image for those feelings of long (long) ago that it invokes.

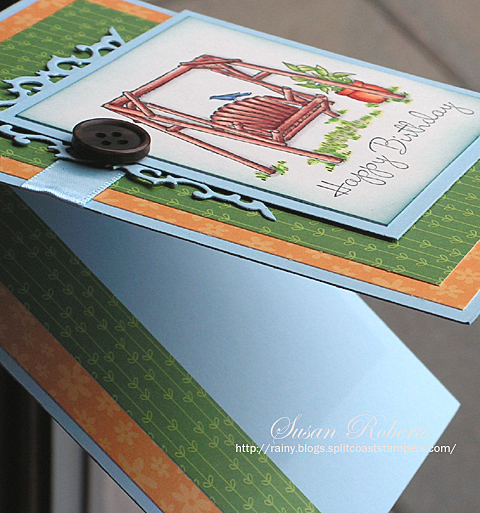
It’s always easy to add some fun by adding a couple of strips of designer paper to the inside of the card as well.

Thanks for dropping by today.  Just love it when you do that!  Oh and if you haven’t checked out my current Sketch Challenge, you can see it HERE!  There are still a couple of days left to play along.  Happy Crafting!


______________________________

Stamps: SU Summertime Afternoon and Happiest Birthday Wishes

Papers: PTI Spring Rain and Vintage Cream; Lawn Fawn “Bright Side” Designer Paper

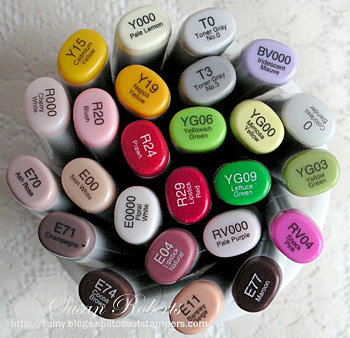
Inks: Memento Tuxedo Black; White Gel Pen; SU Bashful Blue; Copics:


Accessories: PTI Satin Ribbon; SU Designer Naturals Button; Spellbinders Fleur De Lis Die


This card is for a couple of different challenges.  The first is the Operation Write Home’s challenge found HERE, and the second is the Stampin’ Sisters in Christ’s Challenge found HERE.

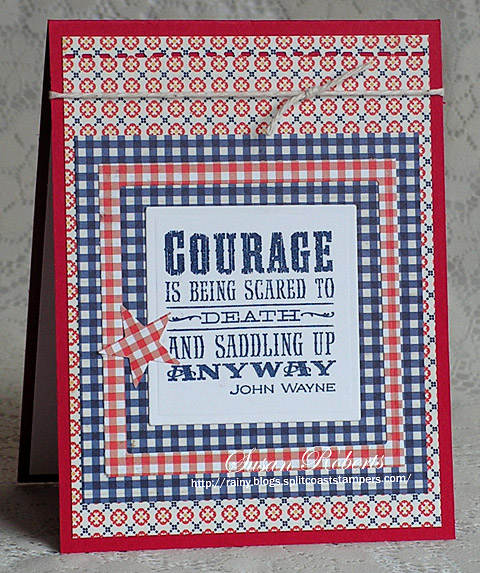
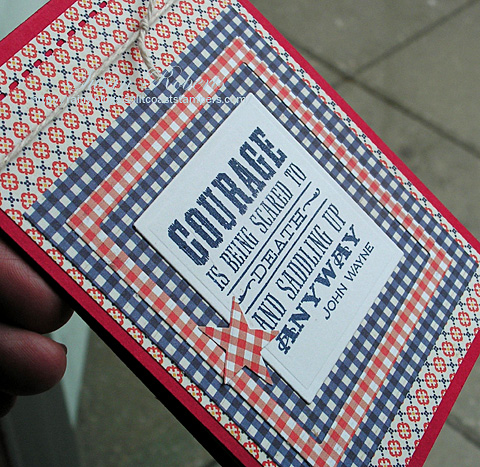
Weight and thickness matter when making cards for OWH so by making the red gingham a frame, you get the look of layers without actually having them.

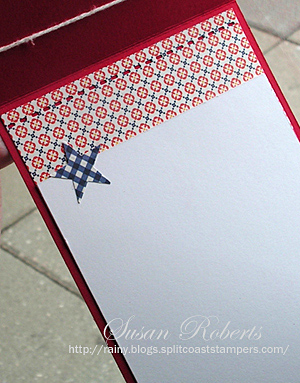
Because of the dark cardstock, some white was added for writing.  A little dp brightens up the inside as well.

If you haven’t seen my Sketch Challenge for this month, check it out HERE.  There is still a week left to play and some blog candy.. a brand new 6 x 6 pad of designer paper is looking for a new home!

Happy Crafting!
——————————

Stamps: Waltzing Mouse “Back in the Saddle”

Papers: PTI Pure Poppy and Select White; Lily Bee Design “Double Dutch” Designer Paper

Inks: SU Night of Navy

Accessories: Fiscars “In Stitches” Border Punch; SU Star Punch; Spellbinders Classic Square Nestabilities Dies; String

Aug 112012

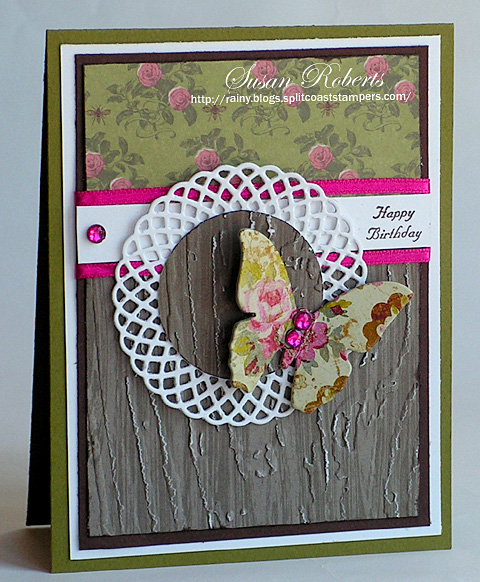
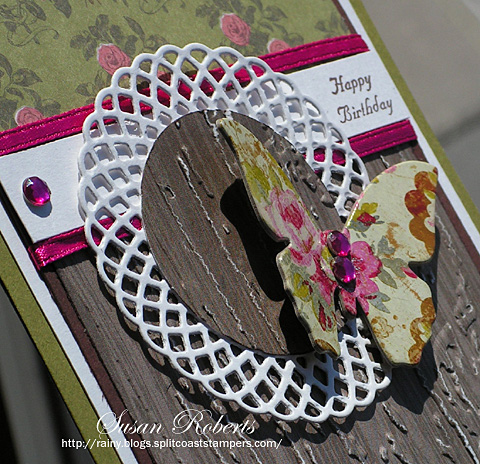
Recently I had a box of chipboard butterflies that I gave to my twin granddaughters.  However the box had come with an uneven number of butterflies.  Figuring that that could be a problem when they went to divide them, I took one out and used it myself!  lol  Problem solved.

You know those little ribbons that come sewn into the shoulder seams on the inside of women’s tops?  Well mine always get cut off and put into the ribbon drawer.  Used some of them here on this card.

Thanks so much from dropping by today.  Hope you have a great weekend!

——————————

Stamps: Rubber Moon “Happy Birthday”

Papers: PTI Ripe Avocado, Dark Chocolate and Select White; Cosmos Cricket “Evangeline Designer Paper; Crate Paper “Pretty Party” Designer Paper

Inks: SU Chocolate Chip

Accessories: Rhinestones; Ribbon; PTI Doily Details B Die; K & Company Madeline Chipboard Butterfly; Tim Holtz Sizzix Wooden Embossing Folder; 1-3/4″ Circle Punch

Jun 222012

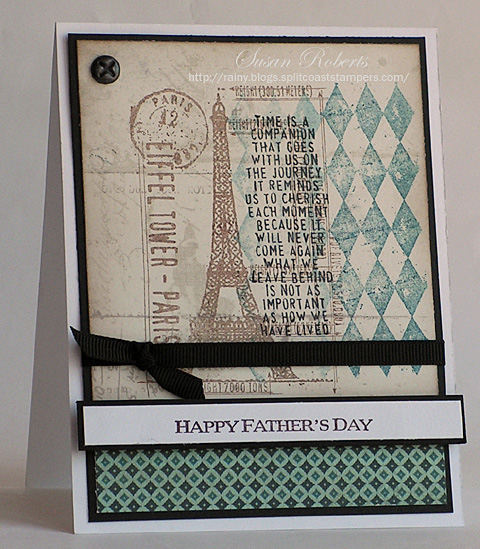
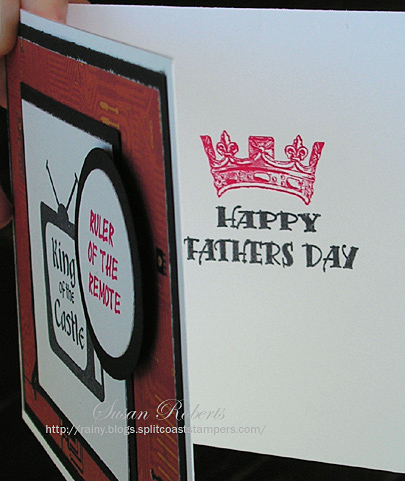
The cards today were made for my two married sons.  Notice the black screw brad on the first card.  It was originally silver but was colored with a Black Copic Marker.  Worked like a charm!  And even though they were both made as Father’s Day cards, with a simple change of the sentiment I think they would work well for other masculine occasions such as a birthday.

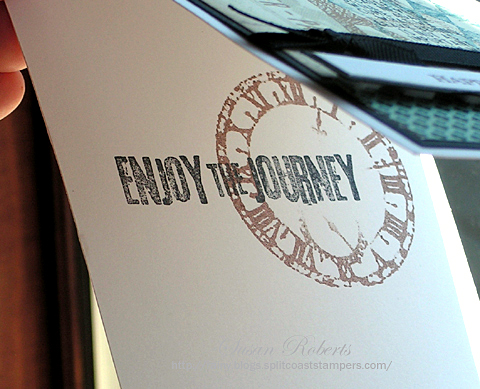
Here is the inside of Jeff’s card.

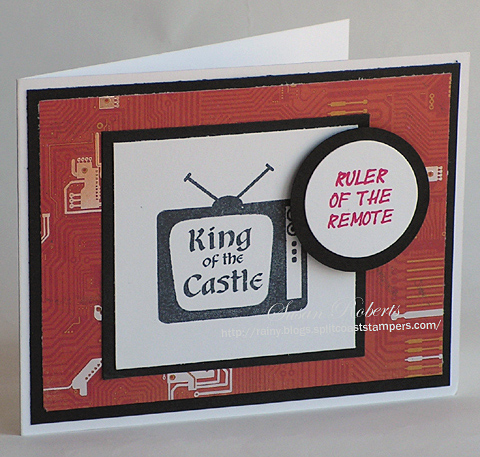
Card #2 was for Gary.  With a wife and three daughters… well he really is the king of the castle!

Wouldn’t it be easy to make this a birthday card!

Just have to share my latest picture (it’s what Grandma’s do!) of little Kira with her daddy.  Love it.

Oh, and if you haven’t seen my latest sketch challenge and blog candy stamps from Memory Box, check it all out HERE!

Happy Crafting!

——————————

Jeff’s:

StampsStamper’s Anonymous “I See Paris”, “The Journey”, “Soulful Journey” , “Elements of Time” and “Mini Muse” ; Inkadinkado “Happy Father’s Day”

Papers: PTI Select White and True Black; Authentique “Loyal” Collection Designer Paper; My Mind’s Eye Indie Chic “Nutmeg” Designer Paper

Inks: Memento Tuxedo Black; SU Close to Cocoa and Not Quite Navy; Copic

Accessories:  Grosgrain Ribbon; Silver Screw Brad (Colored with Copic)

Gary’s:

Stamps: Crafty Secrets Clear Art Stamps “Favorite Fellas”

Papers: PTI Select White and True Black; Kaiser Craft “Technologic” Designer Paper

Inks: Memento Tuxedo Black; SU Real Red

Accessories: Nestability Classic Circle Die; 1-3/4″ Circle Punch

I loved the sketch from Waltzing Mouse Stamps this week and the cute bathing suit to be used as inspiration for Splitcoaststamper’s Clean and Simple Challenge .  So I made a quick and fun card that includes them both.

When you open the card…

a little more of the sentiment is on the back of the tag.  Isn’t that fun!

If you haven’t seen my latest sketch challenge and blog candy stamps from Memory Box, check it out HERE!

Thanks for dropping by today.  Happy Crafting!

——————————

Stamps: Waltzing Mouse Stamps “Teeny Trees”

Papers: PTI Select White; Memory Box “Viola” Designer Paper

Inks: Memento Tuxedo Black

Accessories: Lace; Fleurettes II; Brad; Nestabilities Classic Circles Die

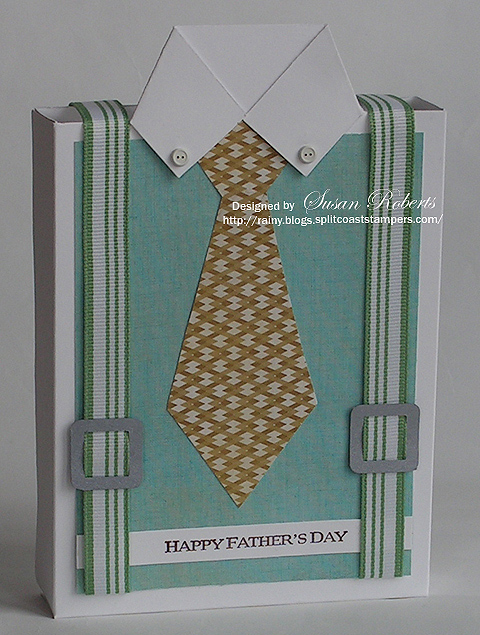
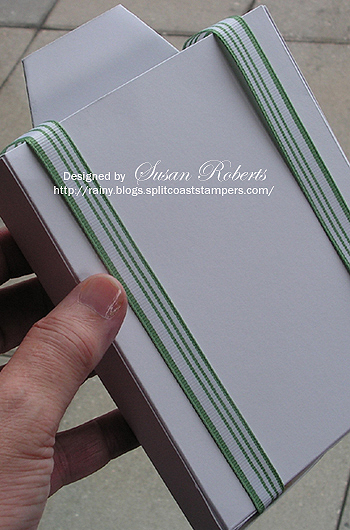
For Father’s Day last year I designed a shirt and tie card. Well using this same idea, I’ve created a shirt and tie tote.  This will be filled on Father’s Day with a sweet surprise.  However, this tote will comfortably hold 3 or 4 moderately embellished A2 sized cards with envelopes, if you’d rather that than chocolate!

I love suspenders, but I’ve never been able to convince my DH to wear them.  Wonder if he’ll even notice them on this little creation. Kinda hard to miss ’em?  They carry all the way down the back of the tote as well.
Following is a tutorial for the tote, but first I wanted to announce the winner of my Sketch Challenge.  I was SO excited that some of you played along!!!  How cool is that.  I didn’t use a random generator this time, but instead just wrote your names on some slips of paper, put them in a bowl, closed my eyes and picked one.  Congrats, Carol L!  I’ll get that gorgeous Graphic45 paper out to you asap!

INSTRUCTIONS FOR A FATHER’S DAY TOTE

Step 1

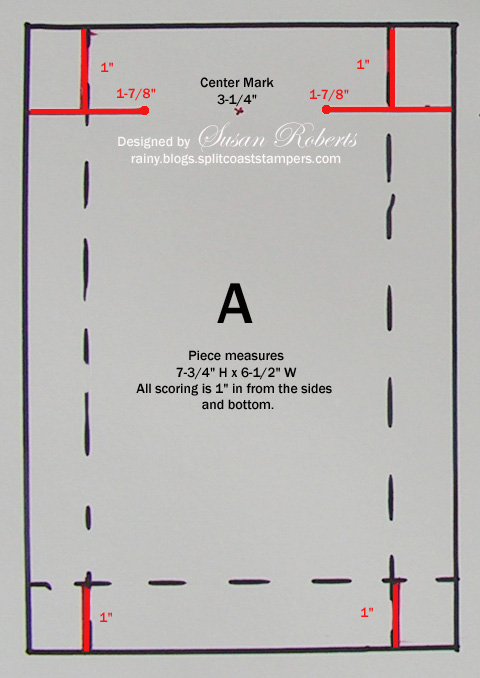
Cut 2 pieces of cardstock A and B.

Piece A  =  7-3/4” x 6-1/2”

Piece B  =  6-3/4” x 6-1/2”

Step 2

Piece A – Score in 1” from both long (7-3/4”) sides.  Score in 1” from one of the short (6-3/4”) sides.
(This side will now be referred to as the bottom of Piece A and the opposite short side will be referred to as the top.)

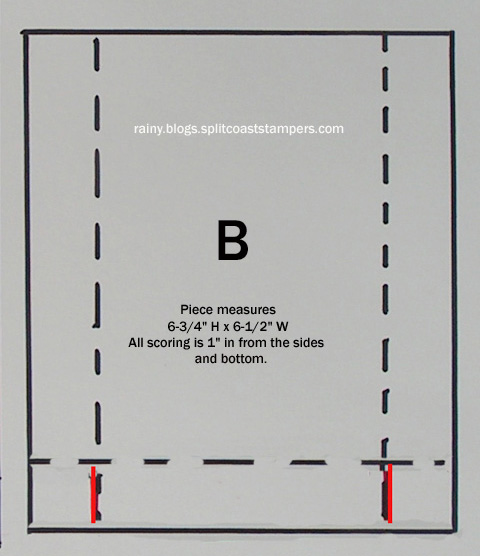
Piece B – Score in 1” from both long (6-3/4”) sides and 1” from one of the short (6-1/2”) sides.
(This side will now be referred to as the bottom of Piece B.)

Step 3

Piece A – Measure down 1” from the top and 1-7/8” from both sides and lightly mark this spot.  From 1” down on the sides, cut in 1-7/8” to that mark.  Cut down 1” from the top on both score lines.  This will completely cut away a 1” square from both corners of the top.  Cut up 1” from the bottom on both score lines.

Piece B – Cut up 1” from the bottom on both score lines.

Cutting lines are in RED.
Step 4

Follow the instructions on THIS TUTORIAL to make the collar and tie.  Note, however, that the “center” should be marked at 3-1/4” (not 2-1/8” as given in Step 3 of the card tutorial.)

Decorate and embellish each piece as desired.

Step 5

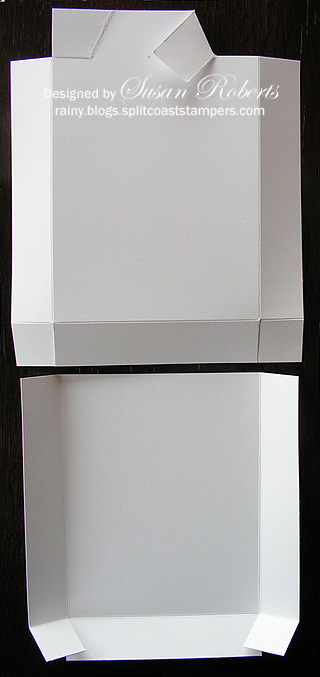
Assemble the tote by folding all the scored lines in the same direction and towards what will be the inside of the tote.  Adhere A and B together on the overlapping side and bottom pieces.  Make sure that Piece A is on the outside of Piece B.
Happy Crafting!

——————————

Stamps: Inkadinkado Happy Father’s Day

Papers: PTI Select White; SU Silver; My Mind’s Eye “Indie Chic ‘Nutmeg'”

Inks: SU Chocolate Chip

Accessories: Button Brads, Grosgrain Ribbon; Buckle Punch

May 232012

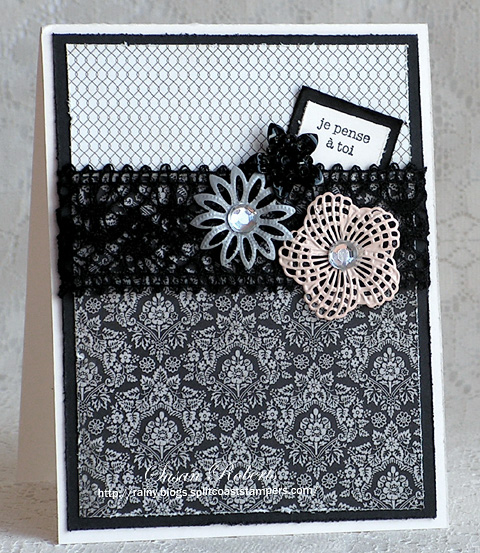
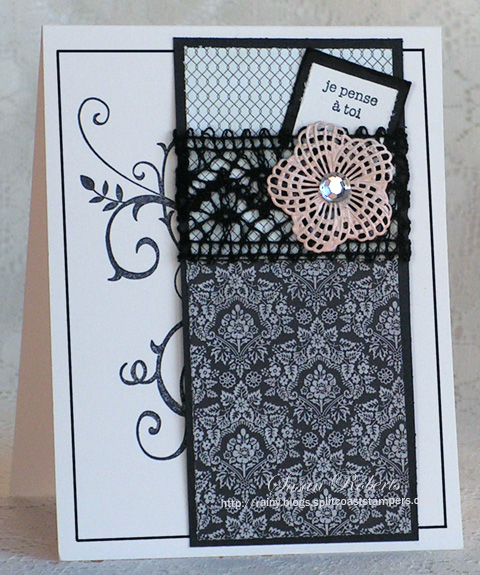
The BasicGrey designer paper “Little Black Dress” is such beautiful paper.  So with a recent purchase of coordinating metal flowers, I couldn’t wait to make a card using both.

Problem was though I didn’t like it, and decided that, at least in this case, less was more.  Using only one of the flowers and cutting the designer paper panel almost in half, the card got a new design.

Better?  Which one is your favorite?

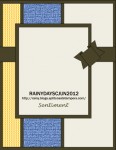
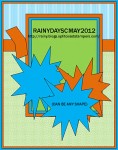
Oh and by the way if you haven’t already seen it, I have a sketch challenge going on until June 1st!  CHECK IT OUT!! Would love to have you join in and give it a try.

Happy Crafting!

——————————

Stamps: SU “Baroque Motifs” and “Voeux mignons”

Papers: PTI Vintage Cream and True Black; Basic Grey “Little Black Dress”

Inks: Memento Tuxedo Black

Accessories: Basic Grey Metal Flowers; May Arts Lace


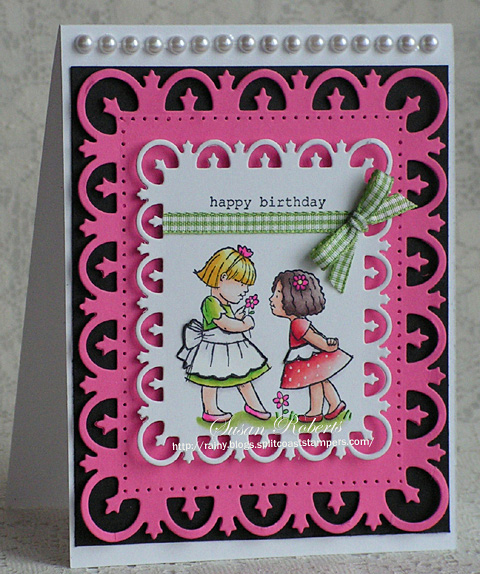
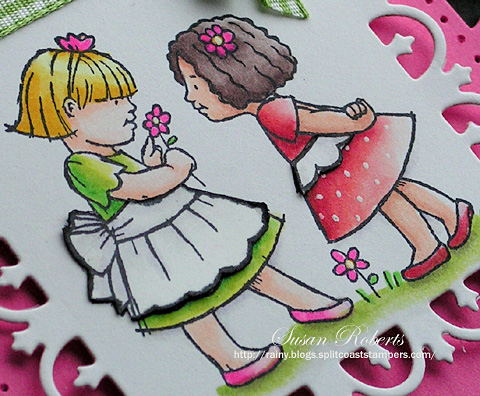
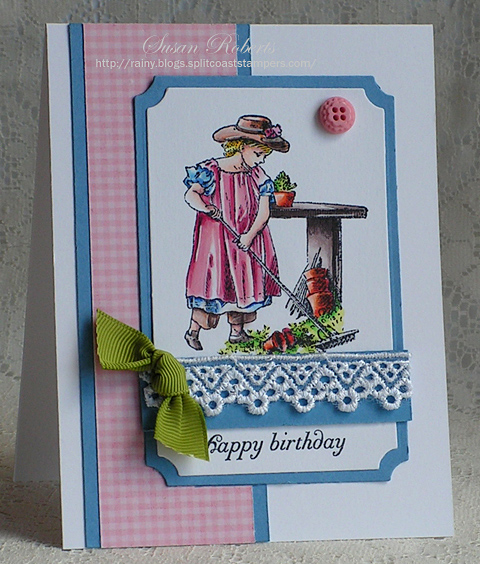
It’s always fun to make a card for someone and to think of them while making it.  I love that.  And the whole time I was coloring and making these two cards I had a particular sister in mind for each one.

This first card was for Arlene. Thinking back on it now, though, I probably should have made her dress blue.  She loves blue, and it loves her!

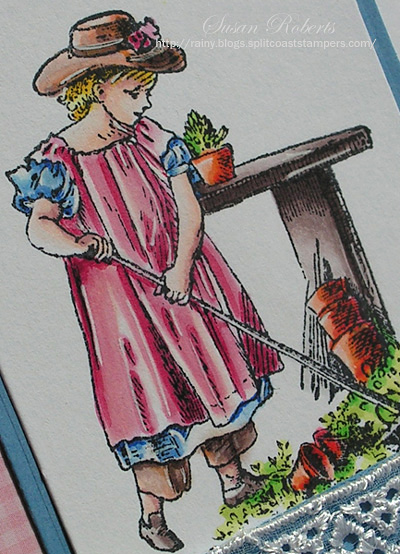
This second card is for Merle who is a gardener extraordinaire.

She belongs to her local Garden Club, and her home/garden was included in their tour a couple of years ago!!  It really is beautiful.  She is my sibling that was born right before me.  I always claim that she took so much green thumb that there wasn’t any left for me!  I am a disaster in the garden.  (Of course, that may have more to do with patience than the color of my thumb. heheh)
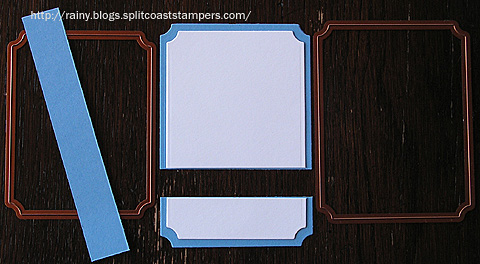
I used the Spellbinders Labels Nestabilities dies for the image panel, but it wasn’t quite as long as I wanted.  So the solution was to cut it in half, pull the bottom down and cover the area in between with some cardstock and lace.  It makes the entire panel appear longer.  Woohoo!

Had so much fun coloring these images while thinking of my sisters.  Sure do love ’em.

Happy Crafting!

——————————

Arlene’s Card:

Stamps: SU Little Friends

Papers: PTI Select White, Hibiscus Burst and True Black

Inks: Memento Tuxedo Black; White Gel Pen; Copics:

Accessories: Gingham Ribbon; Pearls; Nestabilities Fleur de Lis Rectangles; Paper Piercer and Template; Bow Easy

Merle’s Card:

Stamps: Crafty Secrets Clear Art Stamps “Garden Girls”; PTI “Birthday Basics”

Papers: PTI Select White and Blueberry Sky; My Mind’s Eye “Dolled Up” Designer Paper

Inks: Memento Tuxedo Black; White Gel Pen; Copics:

Accessories: Grosgrain Ribbon; Lace; Button; Nestabilities Large Labels and Small Labels Dies

Apr 272012

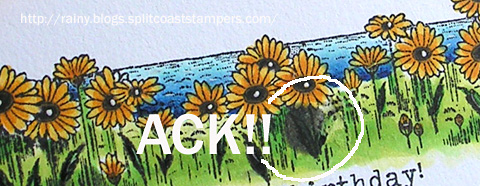
“An overfilled marker will blob on your paper or drip onto your work.” ~www.copicmarker.com/faq~

Yup.

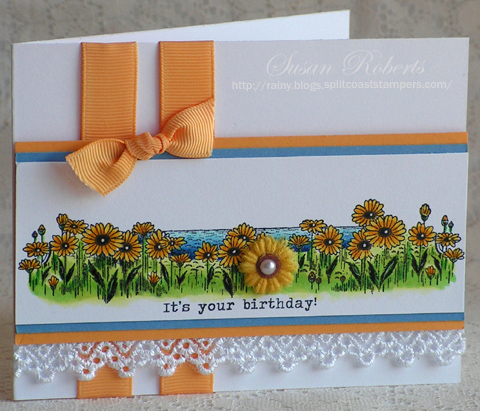
I recently filled all of my Copics.  Sure wish that I had read that little tidbit before doing so.  I overfilled 3 or 4 of my markers, and it resulted in some serious “blobs”.  The above blob was hidden with a golden silk daisy.

I was lucky on this particular image.  Some of the drips were not so easily resolved.  Moral to the story?  Read the instructions… FIRST!!  It makes for much more Happy Crafting!!

——————————

Stamps: Crafty Secrets Clear Art Stamps “Bird Lovers” and “Mouse Party”

Papers: PTI Select White, Blueberry Sky and Summer Sunrise

Inks: Memento Tuxedo Black, White Gel Pen; Copics:

Accessories: Silk and Felt Daisy; Grosgrain Ribbon; Lace; Pearl

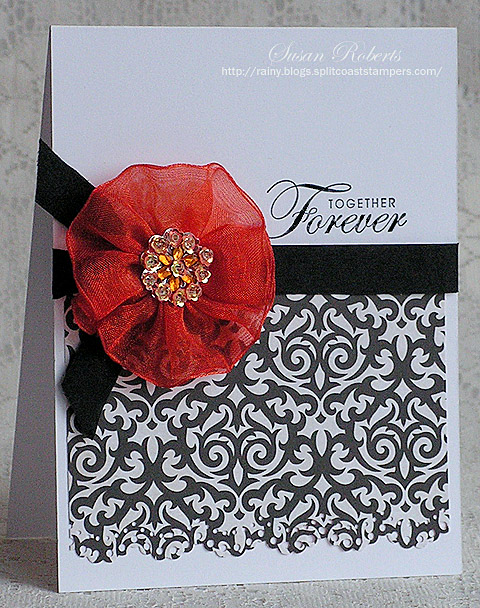
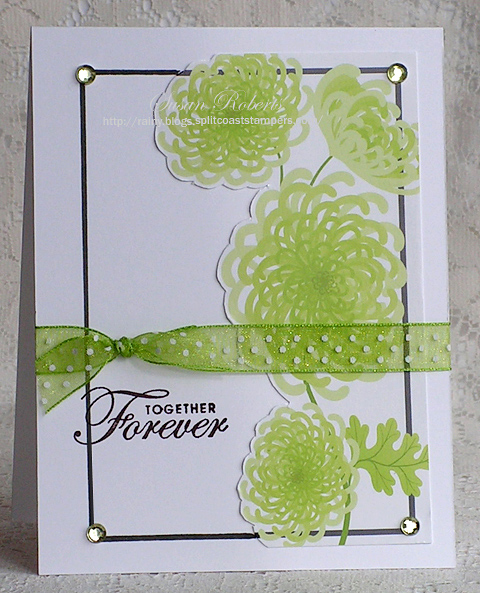
Spring weddings.. new beginnings for brides Kate, Kami and Claire!

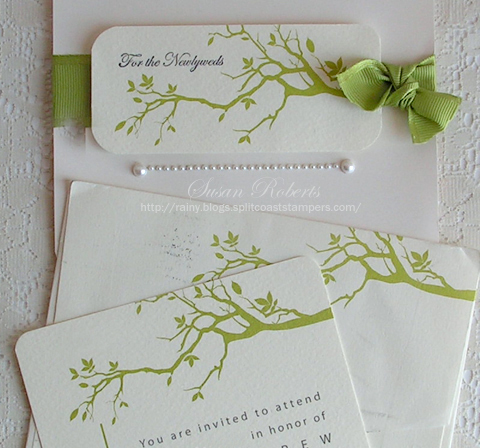
Kate: As I often do, part of the wedding invitation was incorporated onto this first wedding card.

The rounded corners from the invitation were also copied on two corners of the card.

I have also entered Kate’s wedding card into this week’s challenge at “Stampin’ Sisters in Christ” to use soft pastels on your card or project.

Kami: On the second invitation, there was no part of it that could be used for the card.  The invitation was completely black and white with a strong graphic, so I drew from that for the wedding card design.

Add Media

Claire: For the third wedding card a large floral area of the invitation was cut out and used.  The frame on the invitation piece was completed by using a matching Copic to draw the lines on the card base.

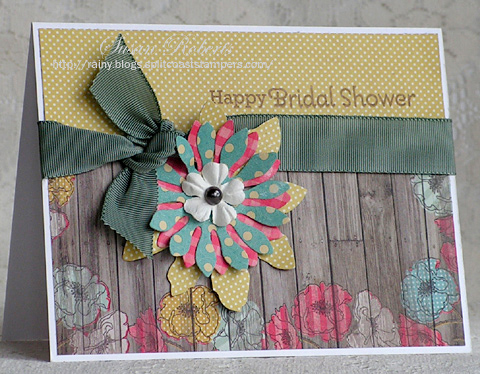
Claire married a farmer and the reception that my husband and I attended Saturday night was very rustic.  It was adorable with burlap table coverings and hanging lanterns.. like a hoedown.. very fun.  And it was complete with a Holstein cow wedding cake!!  Here is the card I made for her bridal shower.

What a busy happy time for these beautiful young women!

——————————

Kate’s Wedding Card:
Stamps: SU Teeny Tiny Wishes
Papers: PTI Vintage Cream; Wedding Invitation
Inks: SU Basic Gray
Accessories: Pearls; Satin Edged Grosgrain Ribbon; Corner Rounder

Kami’s Wedding Card:
Stamps
: SU Together Forever
Papers: PTI Select White; Echo Park “Yours Truly” Designer Paper
Inks: Memento Tuxedo Black
Accessories: Petaloo Fabric Flower; Silk Ribbon; Martha Stewart Scalloped Edger Punch

Claire’s Wedding Card:
Stamps: SU Together Forever
Papers: PTI Select White; Wedding Invitation
Inks: SU Chocolate Chip; Copic
Accessories: Rhinestones; Dotted Swiss Ribbon

Claire’s Shower Card:
Stamps: PTI Scattered Showers
Papers: PTI Select White; My Mind’s Eye “Dolled Up” Designer Paper
Inks: Memento Rich Cocoa
Accessories: Grosgrain Ribbon; Prima; Kaiser Pewter Pearl; Tim Holtz Alterations Tattered Florals Die; Spellbinder’s Sunflower Die

© COPYRIGHT © and FTC Declaration

All content on my blog is COPYRIGHT © 2008-2024 Susan Roberts. Please don't copy any of my stuff for publication, design or contest submission. I declare that I sometimes promote and/or endorse products that I currently receive or have received either for free or at a discount. That said, I won't ever recommend anything that I don't personally enjoy using or feel is a quality product.
© 2020 Rainy Day Creations Suffusion theme by Sayontan Sinha